Just bought an Genuino Uno R3 and this is a quick look of the same.
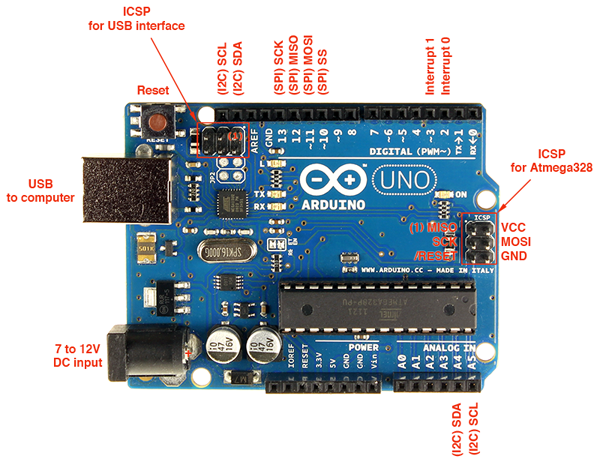
Pinout Diagram:
FYI, below is the pinout digram of the Arduino/Genuino UNO R3 from Nick Gammon’s website.
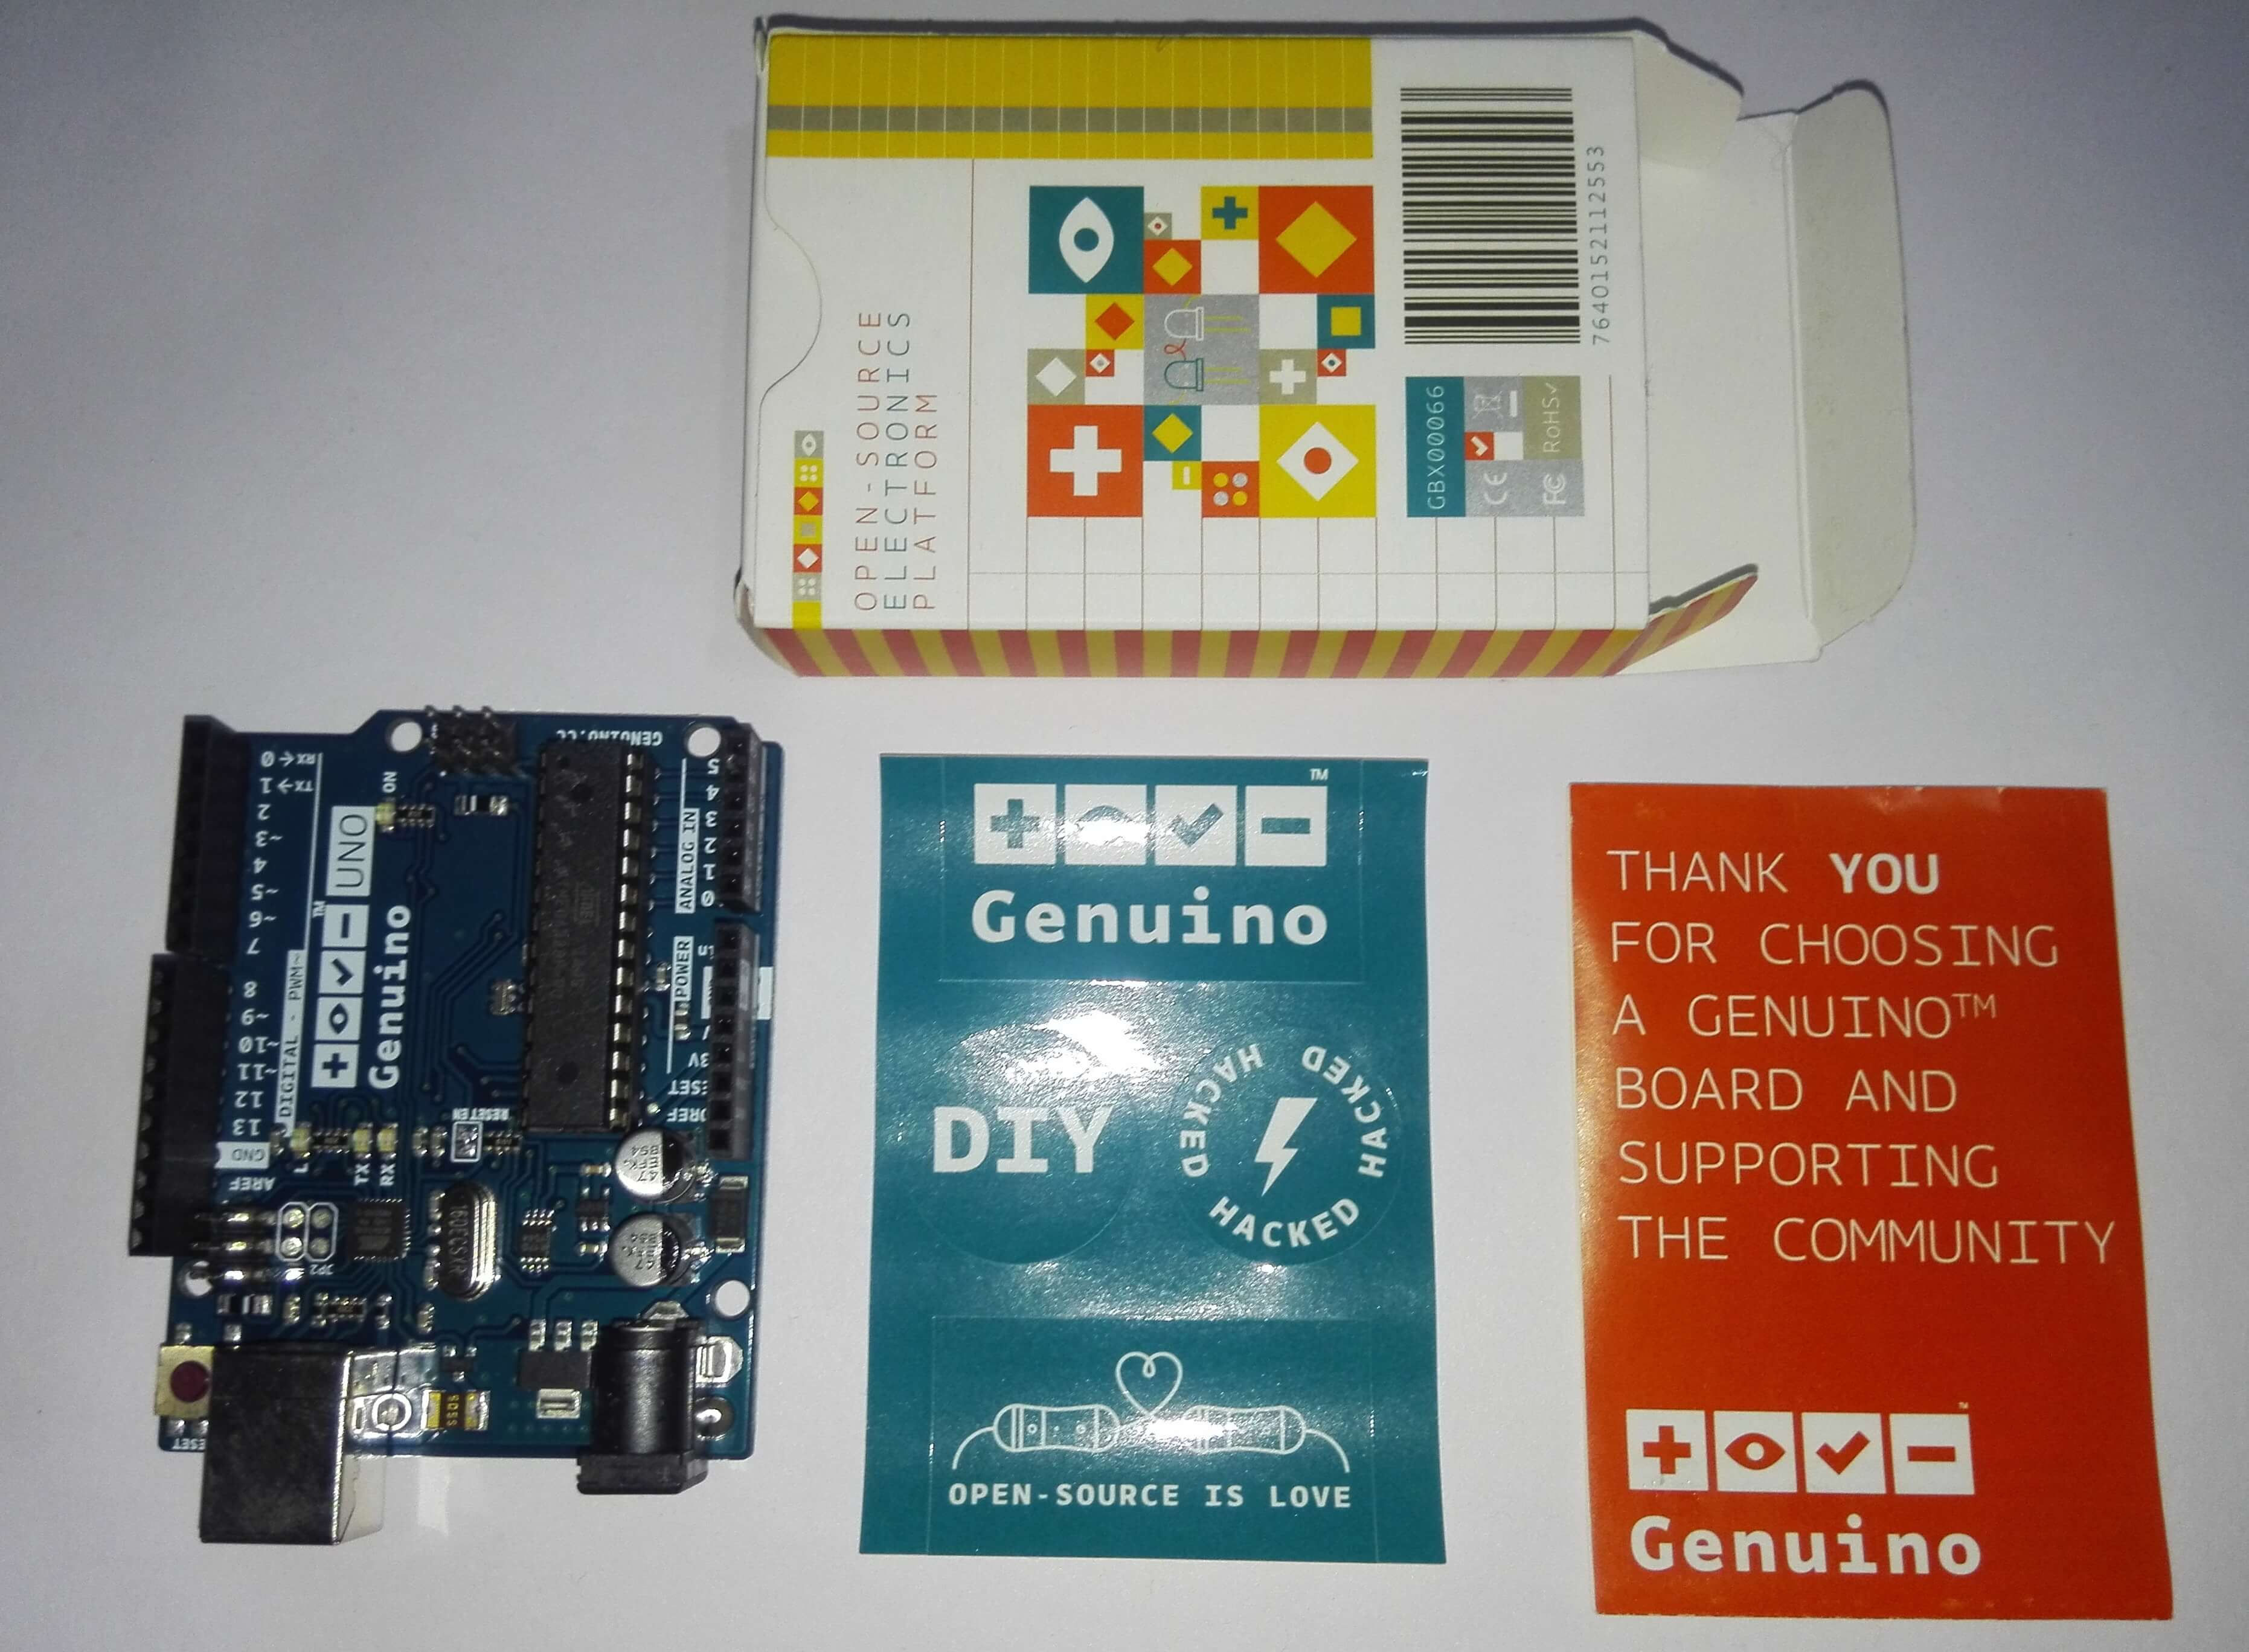
Just like the Arduino Uno, it comes with a Genuino Uno R3 board, ATMEGA microcontroller, some stickers and a “Thank you” booklet as shown above. All Arduino Uno units sold outside the US are named “Genuino UNO”.
I did install the Arduino IDE (Download Link ) in my Windows 10 machine and it was pretty straightforward. You can hook it to your PC/laptop and power it up using a “USB A to B” (printer cable). Alternatively, it can be powered via the DC jack using a 5v DC power supply (such as from an external battery pack).
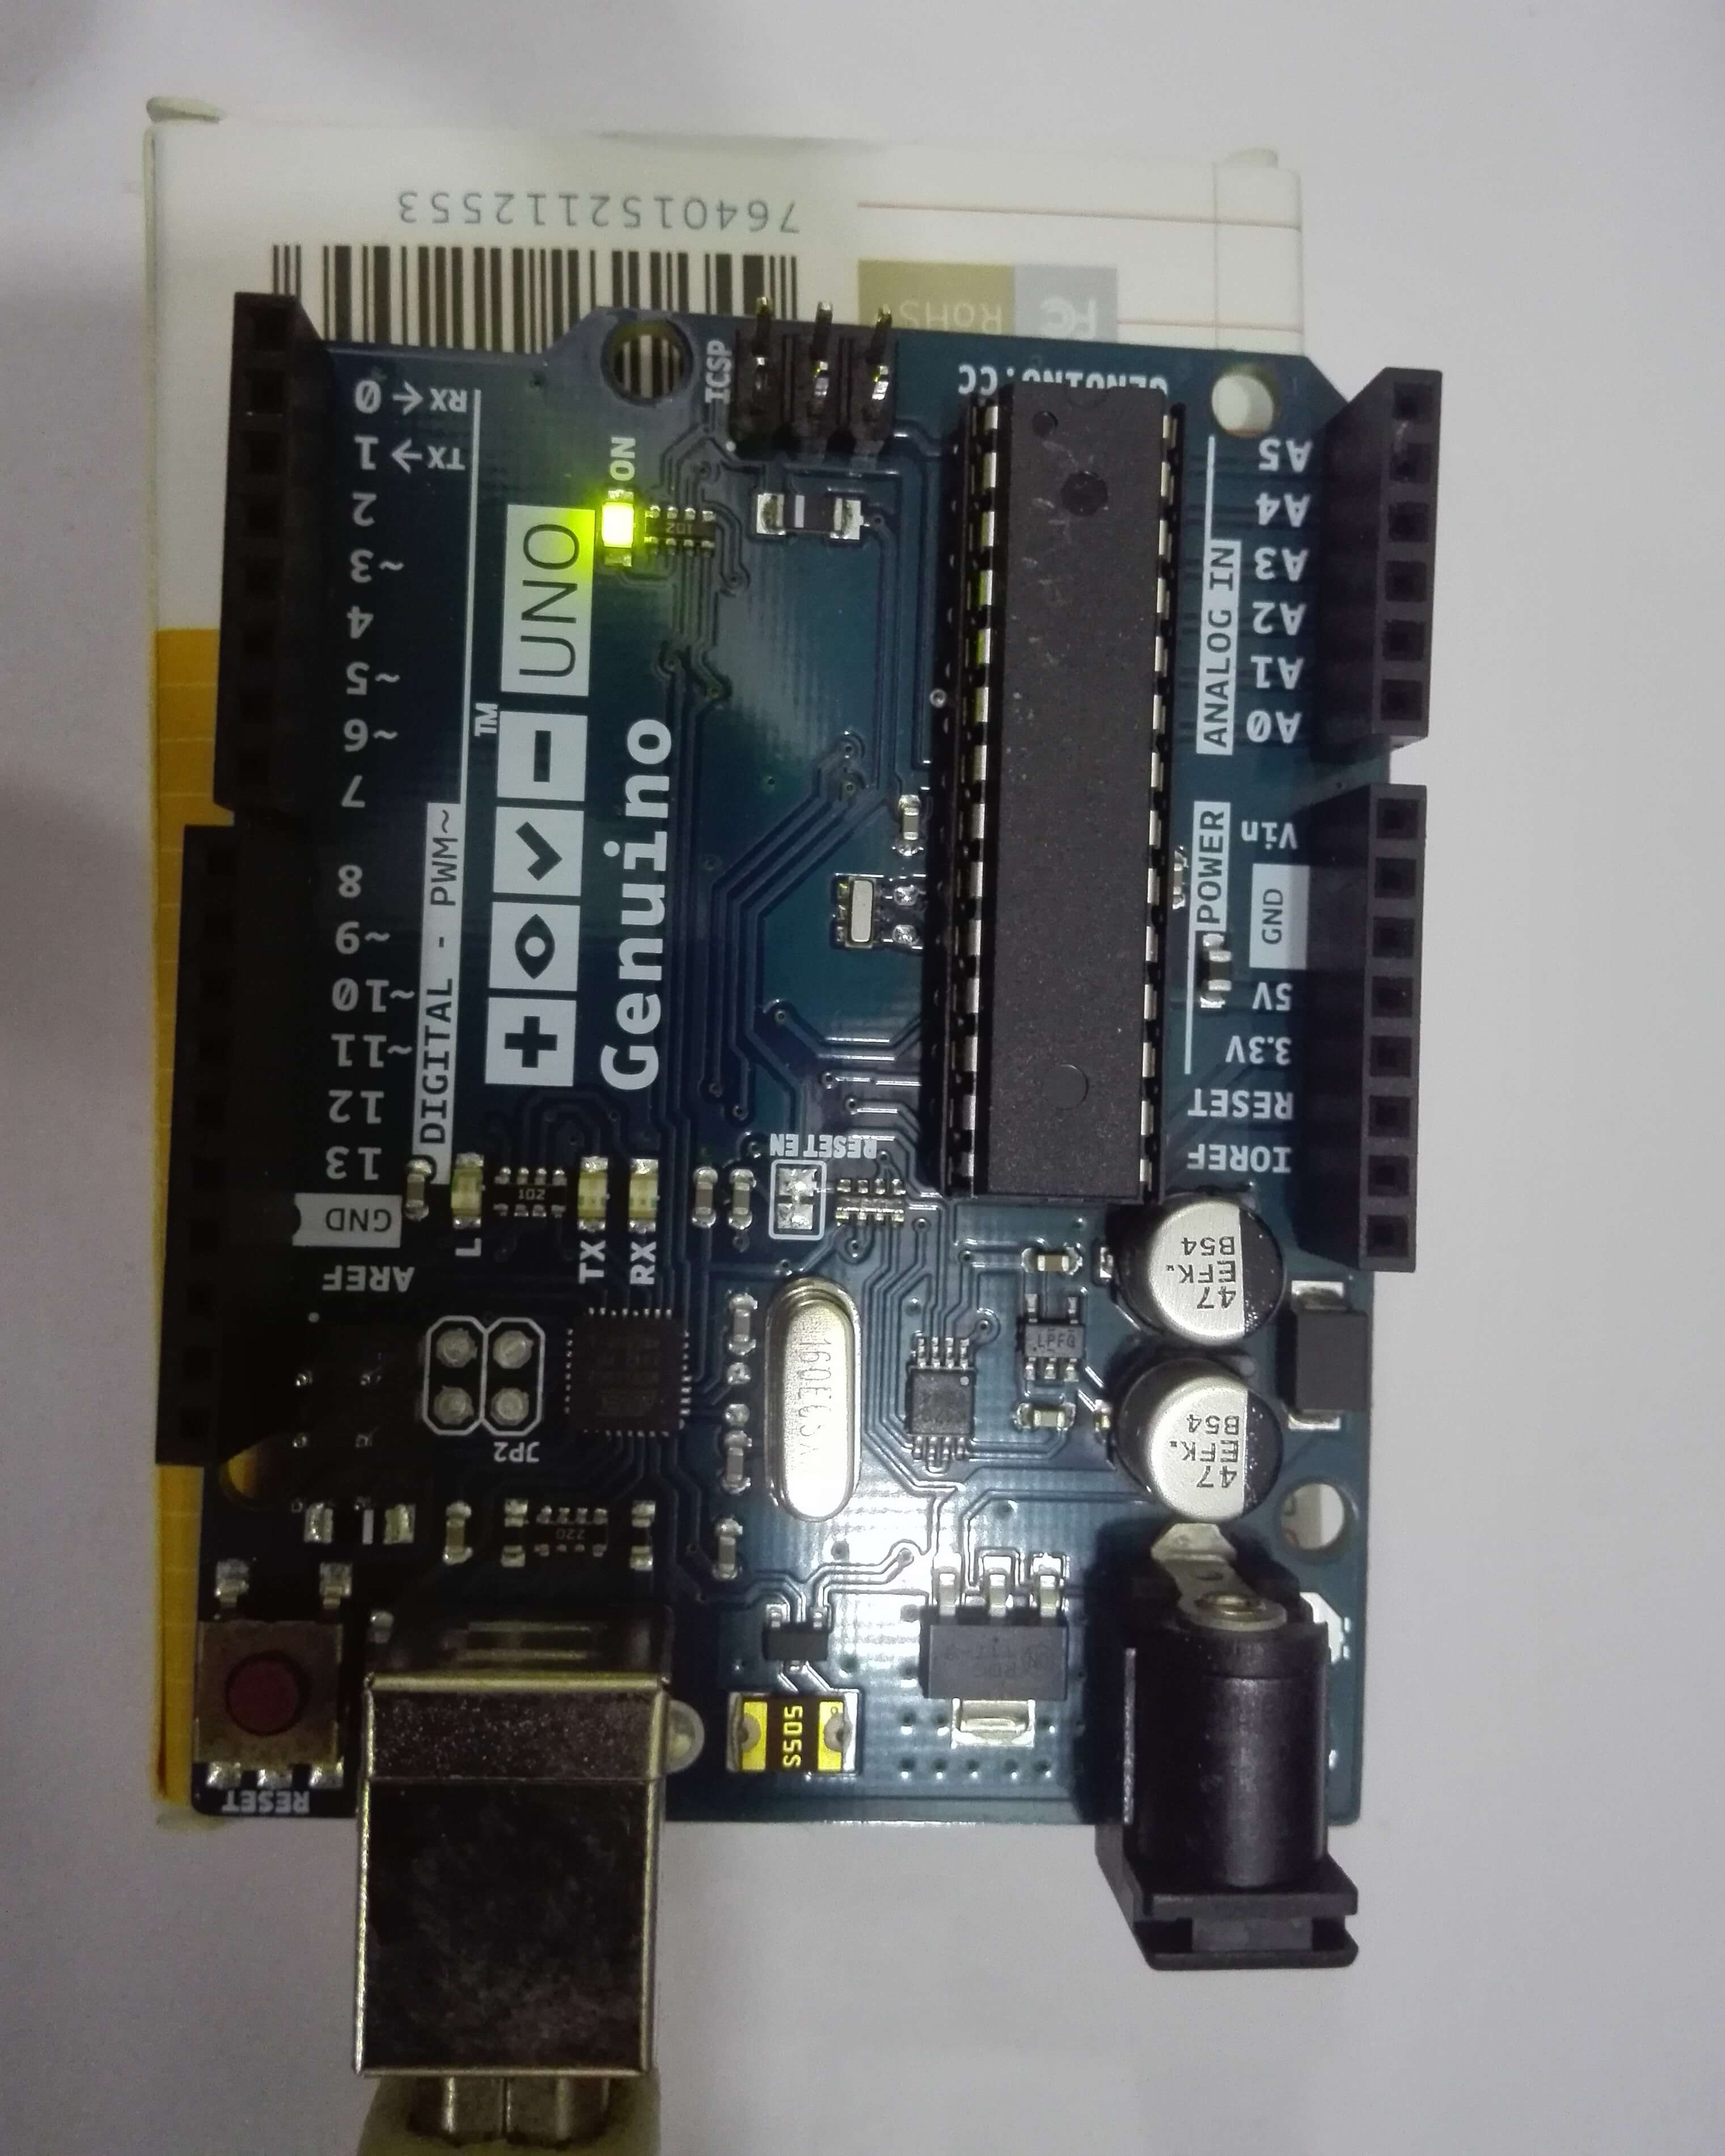
I have hooked it up with a USB cable and once its connected, the status LED lights up as shown below.
I will be posting Arduino/Genuino tutorials in the near future. So don’t forget to subscribe and stay tuned for future updates.
Source (Pinout Diagram): Link