This is a guide on how to setup Cloudflare CDN with BigRock (similar for Bluehost,Godaddy, Dreamhost, Hostgator) for your website or blog . You can follow the steps below:
Step 1. Create an account with Cloudflare:
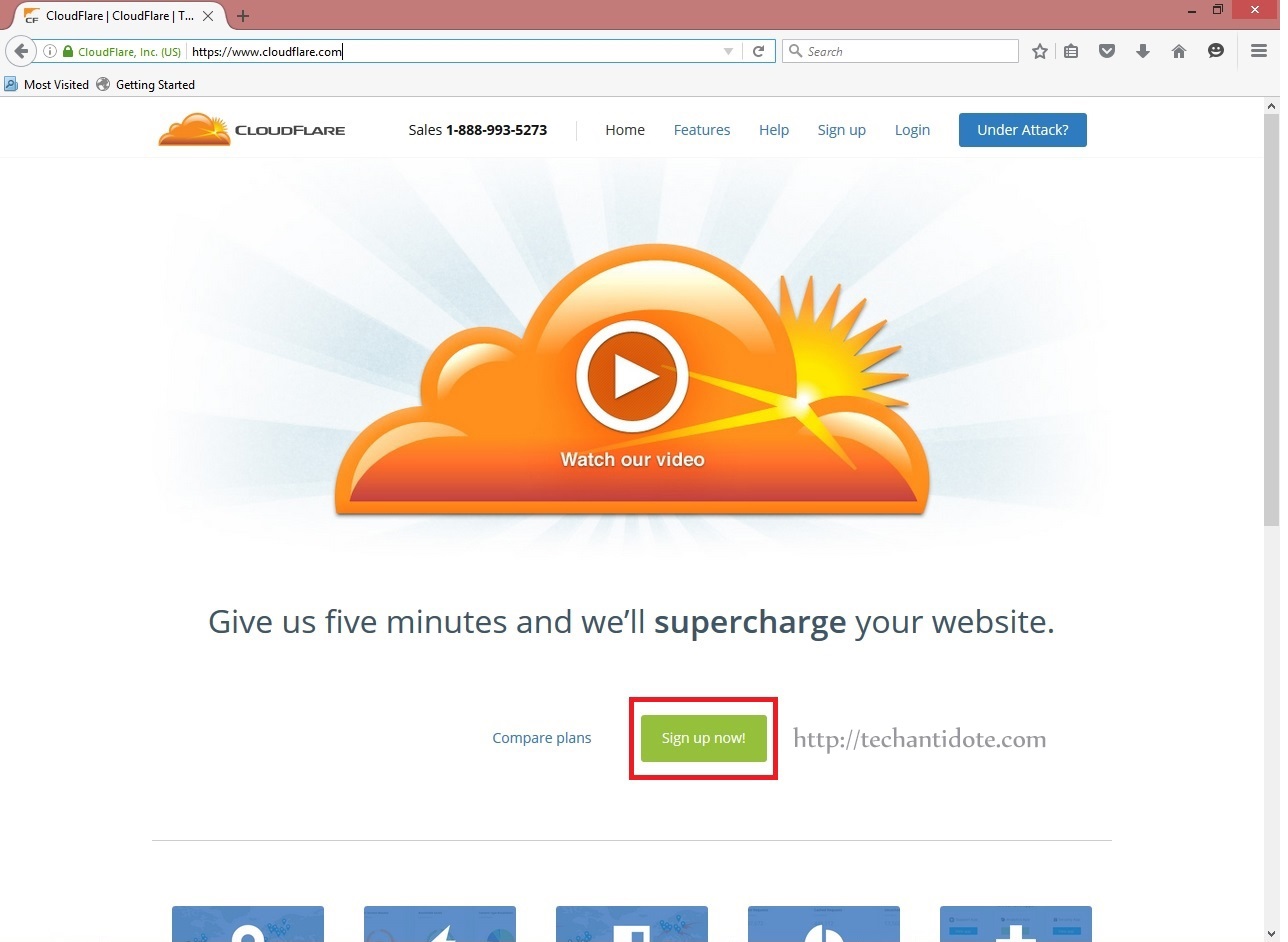
Go to https://www.cloudflare.com and click on the “Signup” button.
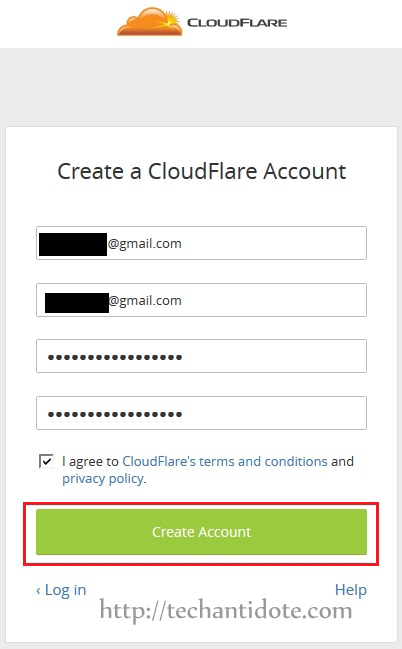
Fill in your details, tick on “Agree” and then click on “Create Account“.
Step 2. Add your website
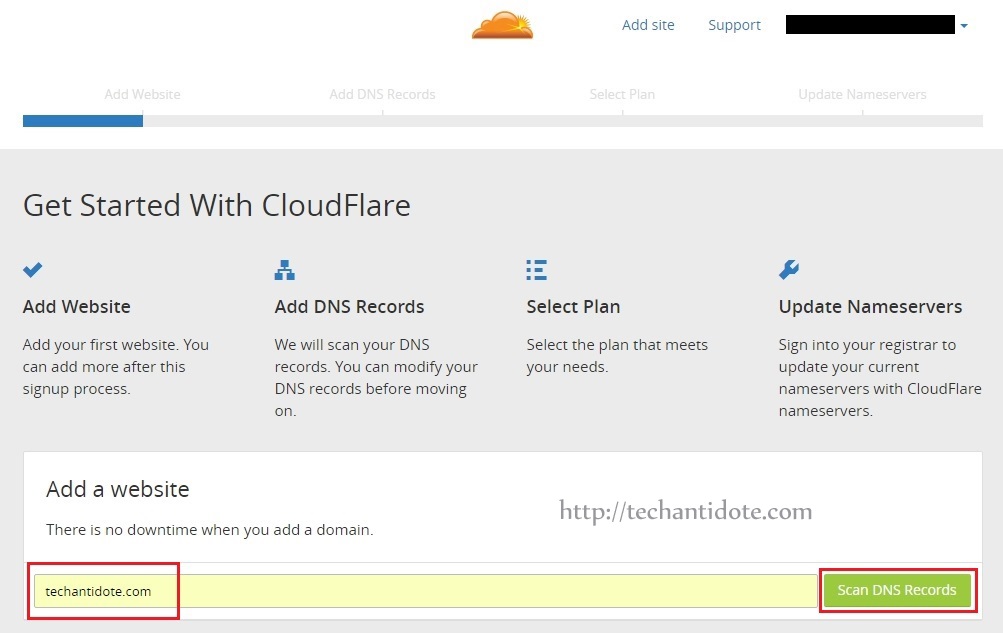
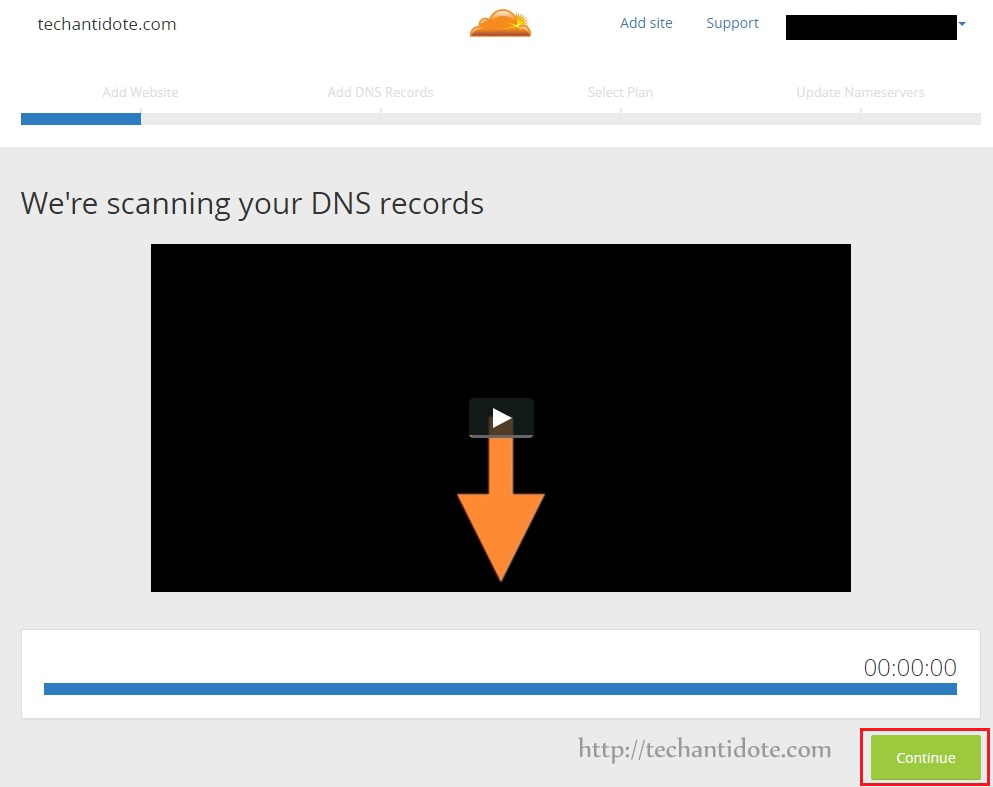
Now, in the text box below, type your website address and then click on “Scan DNS Records“as shown below.
It will take a few moments for the scanning to complete.
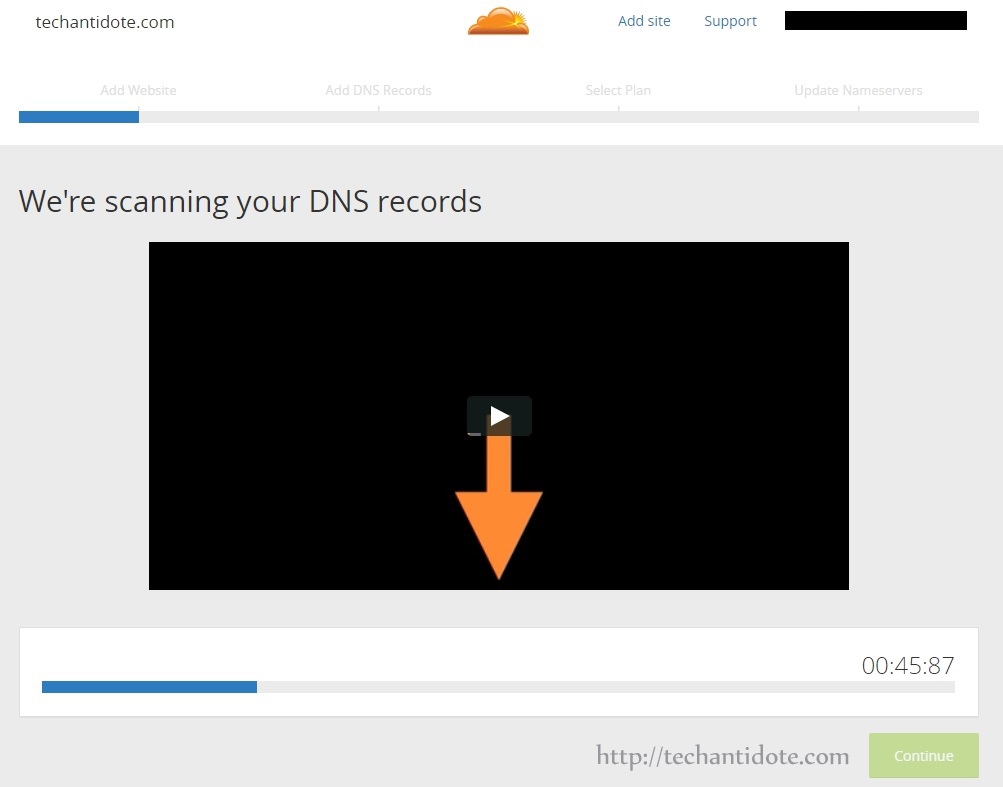
Once, the scanning is complete, click on “Continue“.
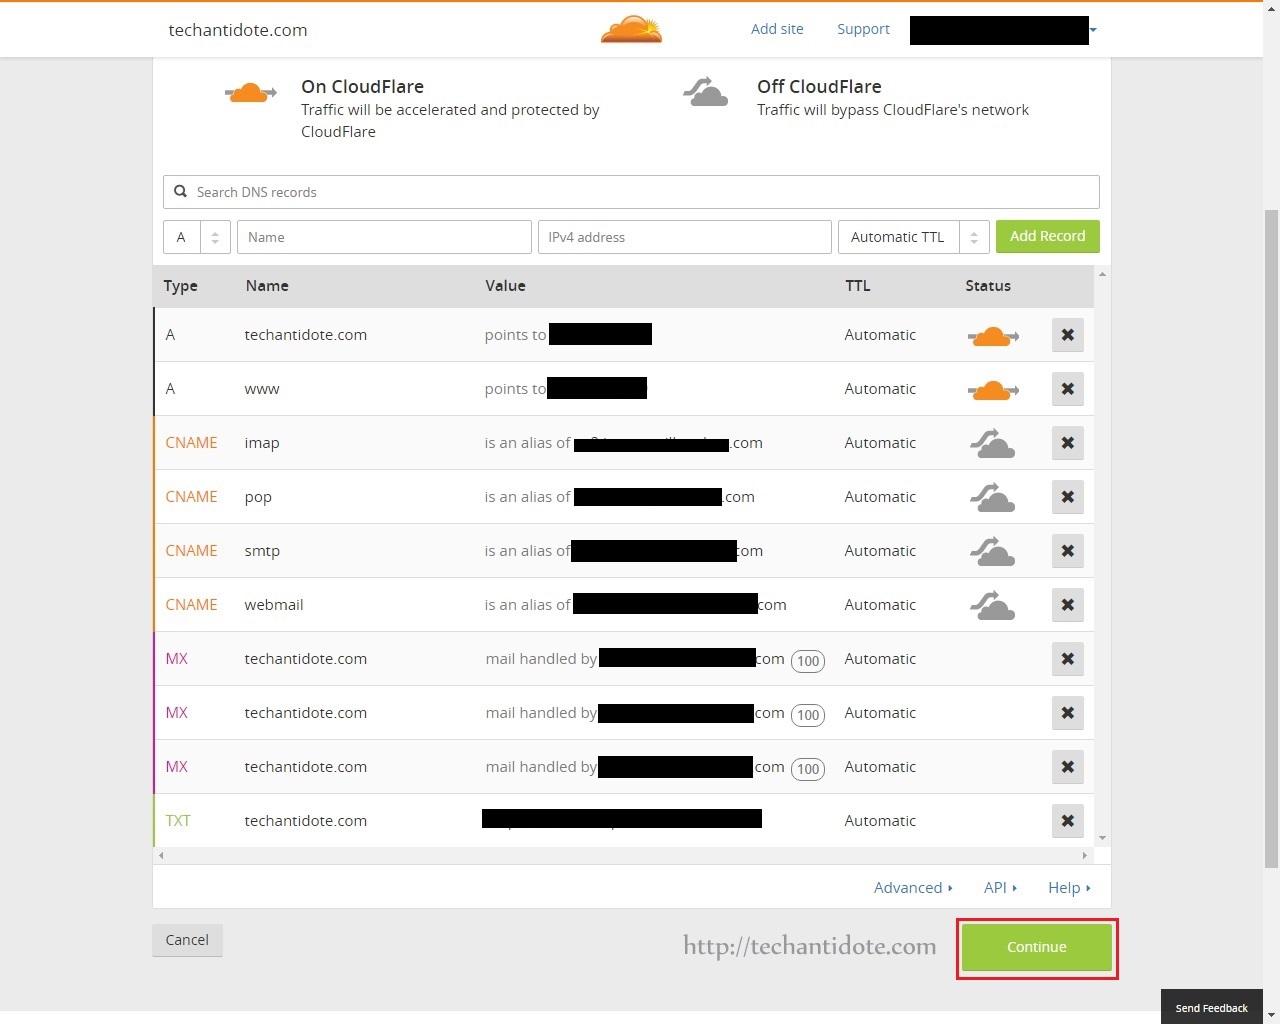
Now, click on “Continue” in the bottom corner:
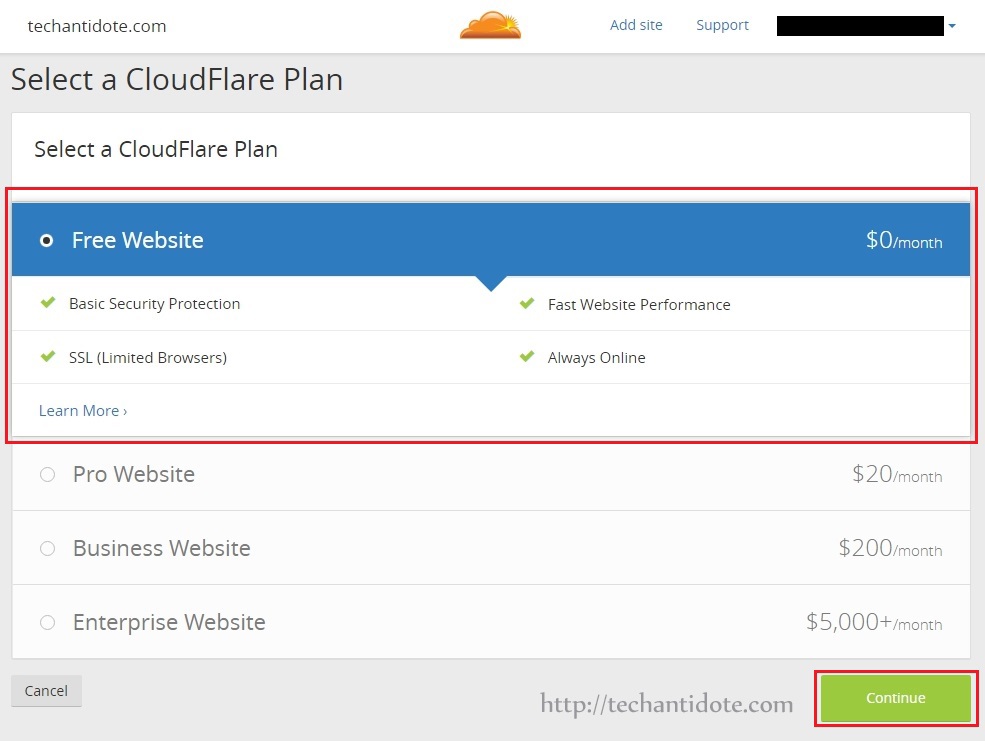
Step 3. Select Cloudflare Plan
Now, select the “Free Website” package as shown below and click on “Continue“.
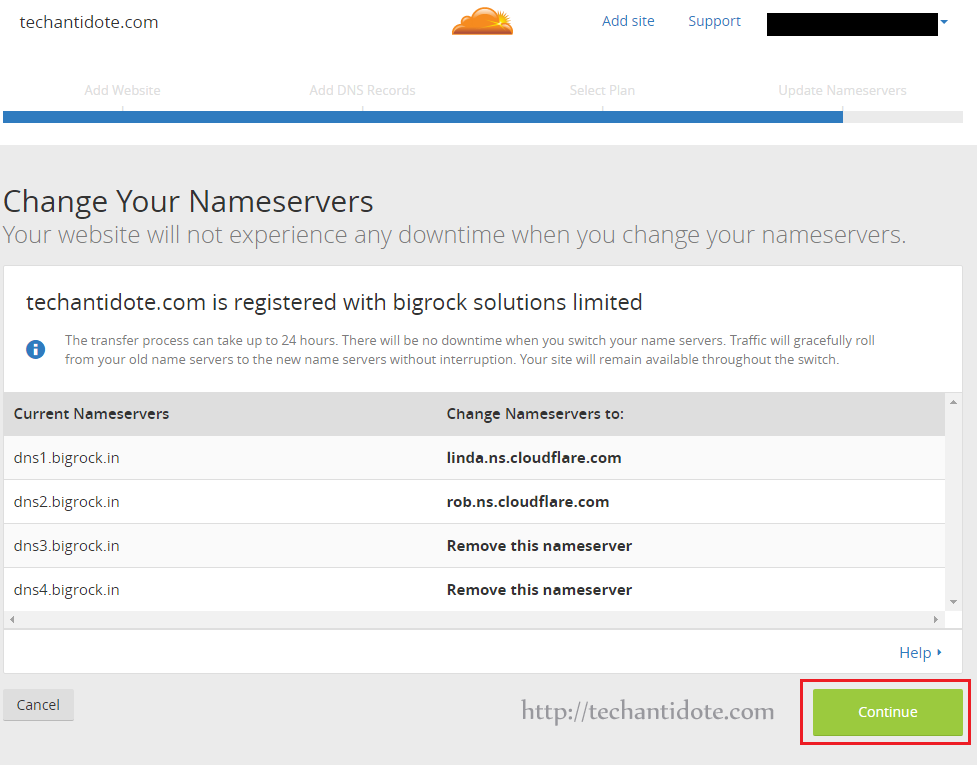
Step 4. Get new name servers
Now, you will see the Cloudflare name servers as shown below. [This may vary for your website]
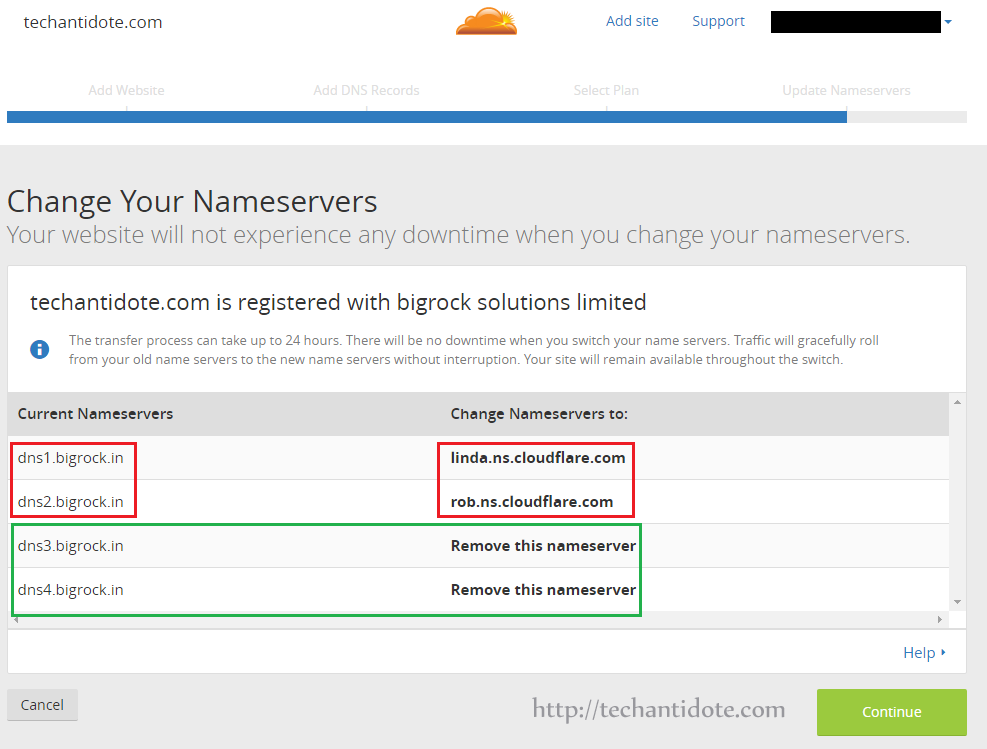
As you see, for my website it is requesting to change the name server from
dns1.bigrock.in to linda.ns.cloudflare.com
dns2.bigrock.in to rob.ns.cloudflare.com
Also, also to remove the following nameservers:
dns3.bigrock.in
dns4.bigrock.in
[Note: The nameservers that you may see in your screen may be different.]
Step 4: Change your name servers to Cloudflare
Now, open up a new tab and login to your domain host panel (i.e. from where you bought your domain name from eg BigRock, Goddady, Hostgator, Bluehost etc). I have my domain from BigRock so I will be loggin in to my Bigrock account.
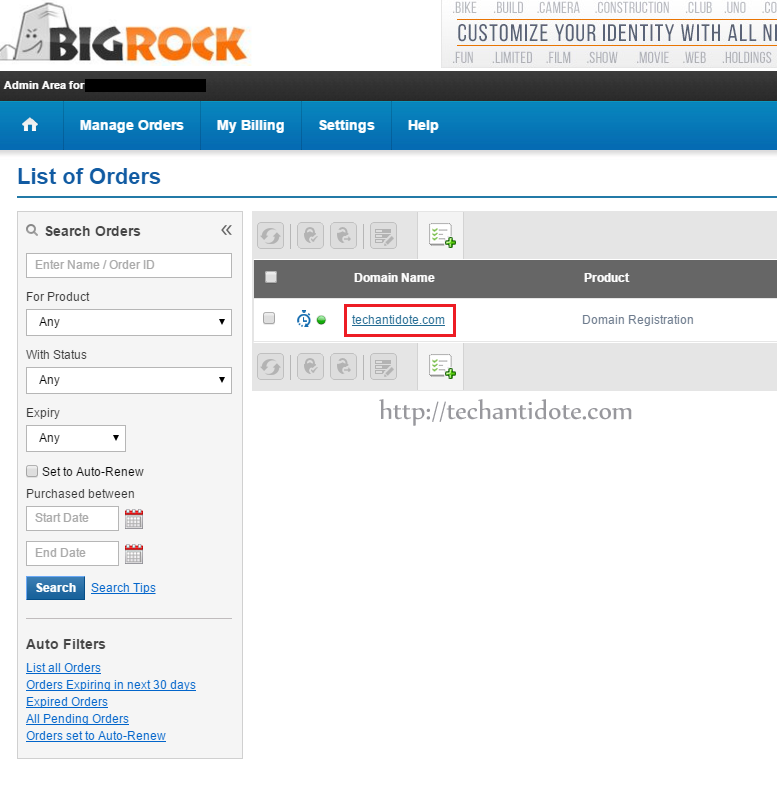
Now, click on the domain you need to change the name servers to.
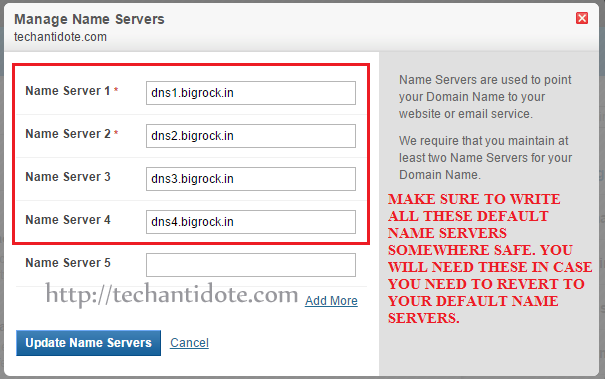
Now, click on “Name Servers”

And you will see your default nameservers as shown below:
Now, change your nameserver to the ones provided by cloudflare. In my case, after changing the nameserver, it will look like this:
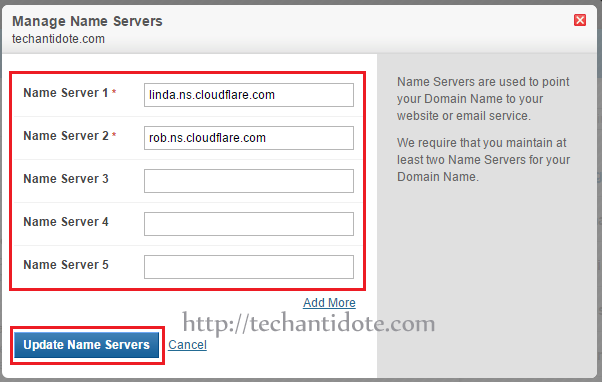
Now, click on “Update Name Servers“.
Step 5: Verify in Cloudflare
Now, go back to your cloudflare tab and click on “Continue“.
It should show you show you a green banner with the status: “Active” as shown below.
 [NOTE: If you the status does not show as “Active” then you can click on “Recheck Status” and it then should show that its “Active”]
[IMPORTANT: It would take about 24-48 hours for the DNS to get updated.]
And Voila! You have successfully configured Cloudflare CDN for your blog/website and should load faster.
Do check the performance of your website after 24-48 hours and let me know in the comments sections below if there was any speed improvement.
If this article helped you, then support us by liking us us on Facebook, Twitter, Google+ and Tumbler. 🙂
Regards,
ΞXΤЯ3МΞ