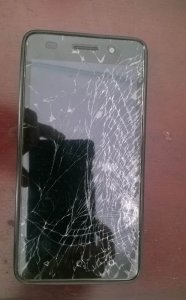
I dropped my phone while running to work and the screen broke due to the impact. I have been using this phone for a very long time (since 13th June 2015) and I dint want to let go (probably due to sentimental value). Most people would just throw the old one away and get a new one but honestly I didn’t really feel the need to get a new one. As of now, I will wait and see. Maybe eventually I might get a new one (Honor 8 Pro maybe?) but I don’t know. So I thought I would keep it with me, give it time, learn and fix it myself even thought I have no clue what I am doing. LOL! May be this whole repair thing is a bad idea and might fail, but its definitely worth a shot.
Here is the picture of the broken screen 🙁
This is the first time ever that I am taking apart a phone completely so pardon me for any mistakes. I had completed dissembling this phone a while back but just didnt get the time to post about it due to work.
So, I googled for weeks on tutorials on stuff like how to open up this phone, the tools you need and stuff like that.
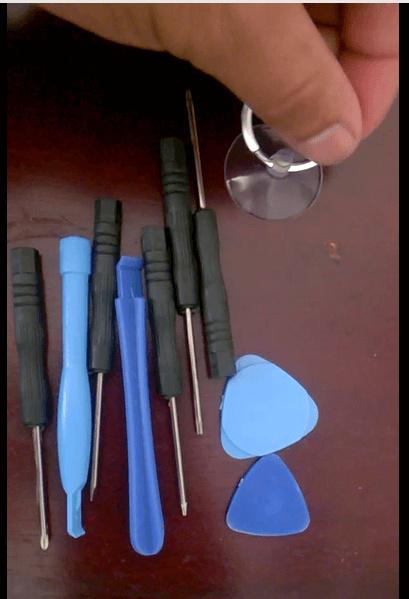
So, I bought a mobile repair kit which basically has a few screwdrivers, 2 x guitar strum looking things, 2 plastic crowbars and a suction cup. Here is a picture of the kit:
So, first thing I did was to remove the back shell.
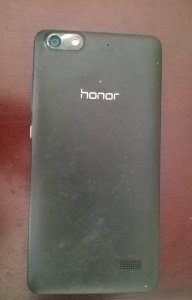
So, this is how the back portion looks after removing the back shell.
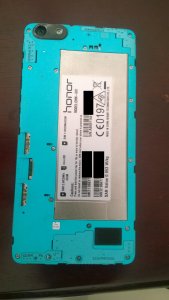
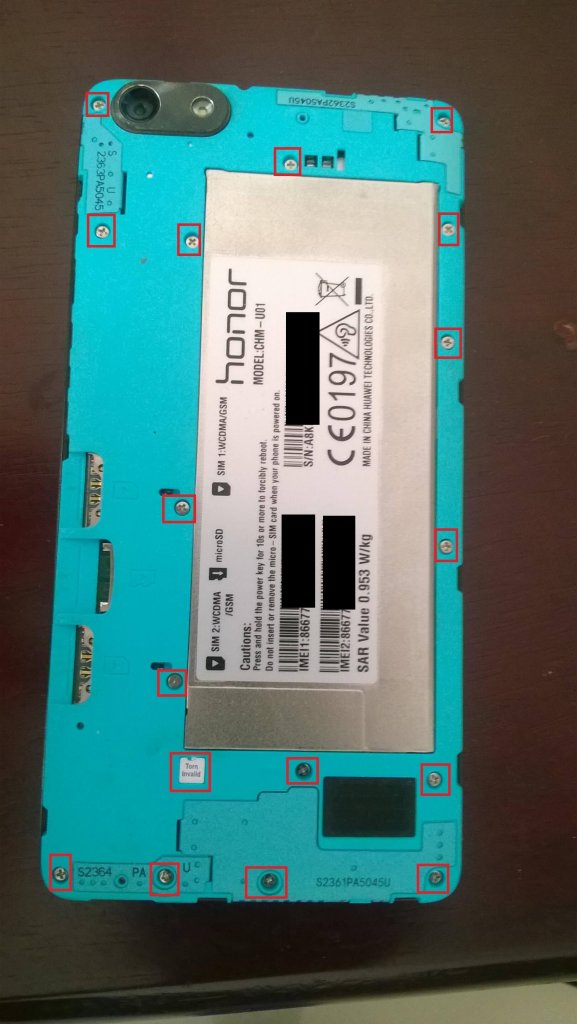
So, I started off by removing the screws near the battery and then the outer ones. Attaching a picture for their location for reference:
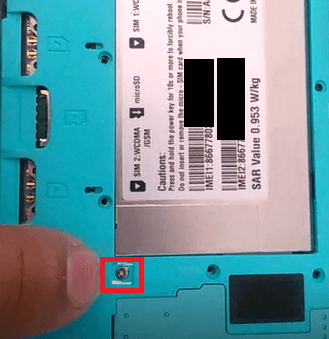
It took me a while to figure out that there under the “Torn invalid” sticker, there is a star screw hidden underneath it. Attaching a picture for reference below:
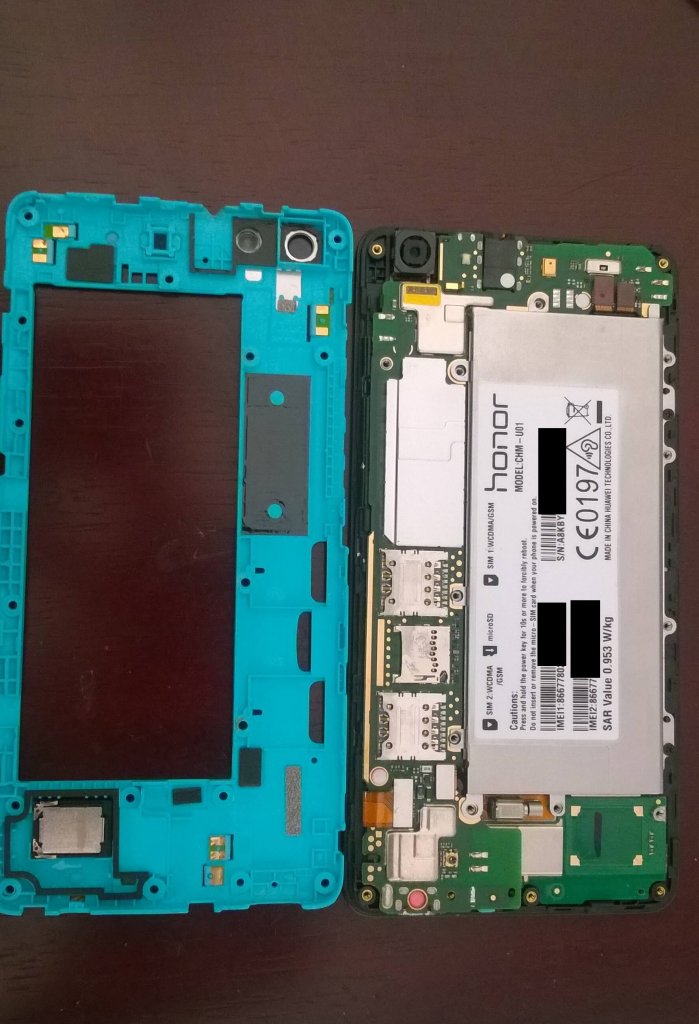
Now, we can gently take out the blue casing. This is what looks like once we remove the blue casing on the Honor 4c.
My baby is so pretttyyy on the inside!! 🙂 😛
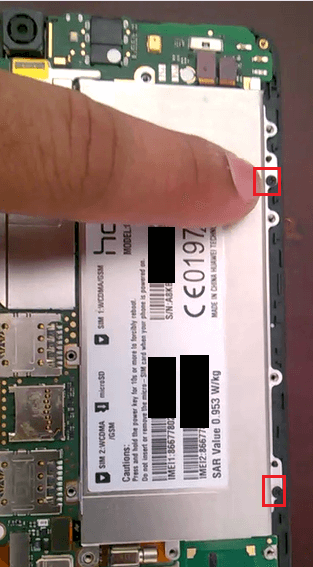
To remove the battery, I had to remove the two screws on the right side of the battery as shown in the red box below:
Now to pop the battery out, I had to lift and disconnect the battery connector as show below.
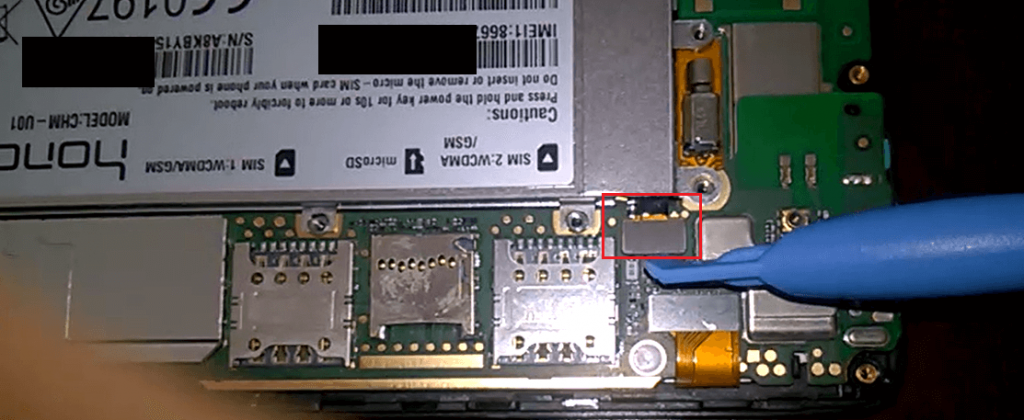
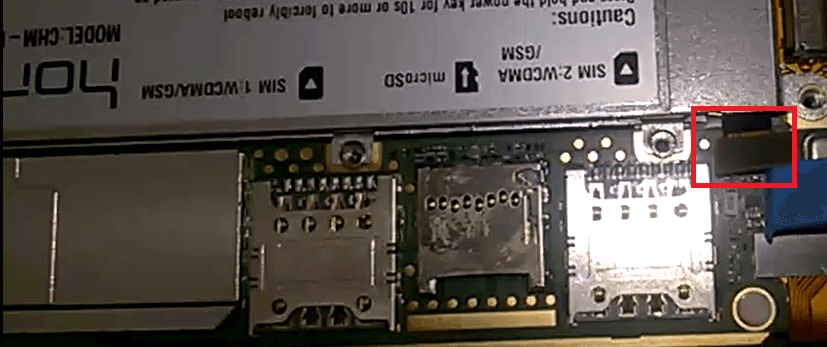
After disconnecting the battery cable, I was able to remove the battery by simply lifting the battery up.
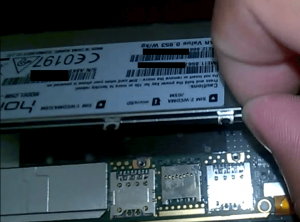
So, this is how the battery looks like:
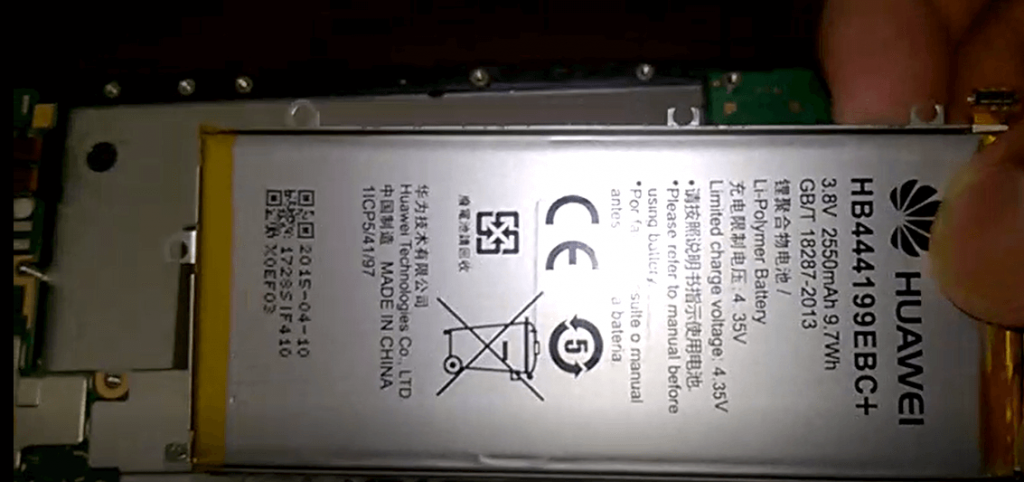
After the removing the battery, disconnect/pull the below cable.
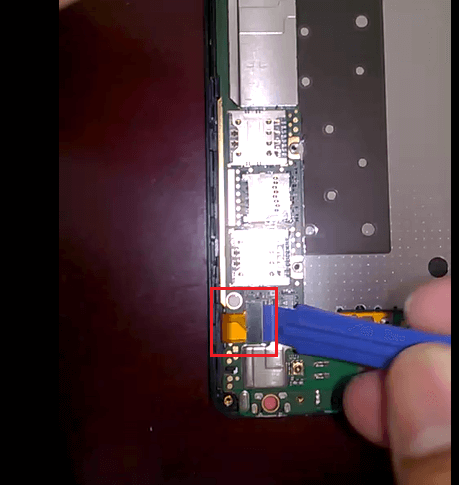
Then disconnect the below two cables.
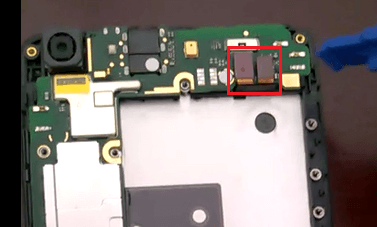
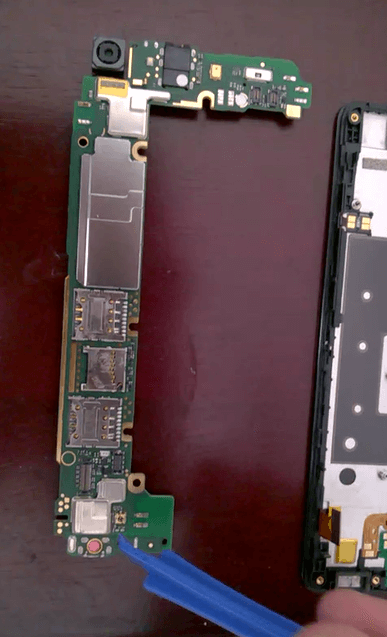
Now, we can separate the motherboard from the phone.
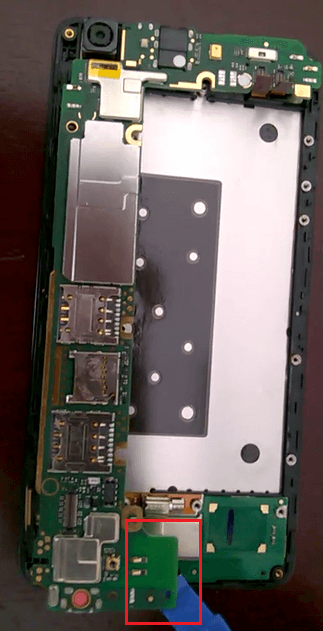
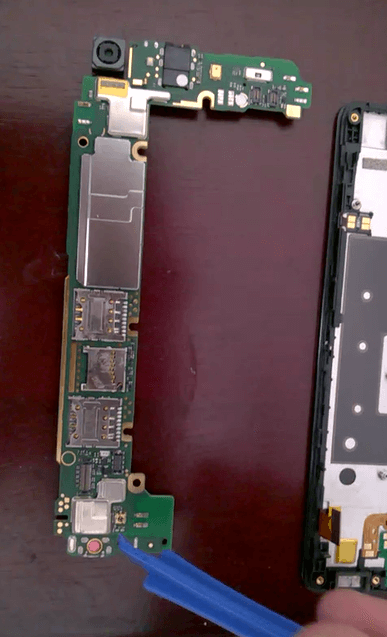
This is what my Honor 4c motherboard looks like.
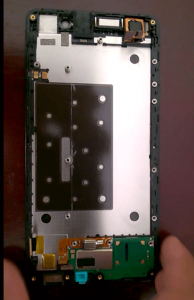
This is what the backside of the display looks like:(which has the Frame which holds the Display and the Touch Screen Digitizer).
So, I was able to disassemble my phone successfully! Wohoo!! 🙂 I know this is not a big deal for most people but its a big deal to me. I honestly didn’t think I could make it this far as I was alone in this learning journey. I am glad that I gained some knowledge on dissembling phones which is something I had never done before. I did make a video with audio instructions on the whole disassembly process but I am not sure I should upload it to my youtube channel or not. Lemme know what you think below in the comments section.
Do you think its worth repairing this and having it fixed? If you were in my shoes, would you hold on to your old phone?
Leave your comments in the comment section down below. I would love to hear what you have to say.
As always stay happy! 🙂
Happy blogging!
Regards,
ΞXΤЯ3МΞ
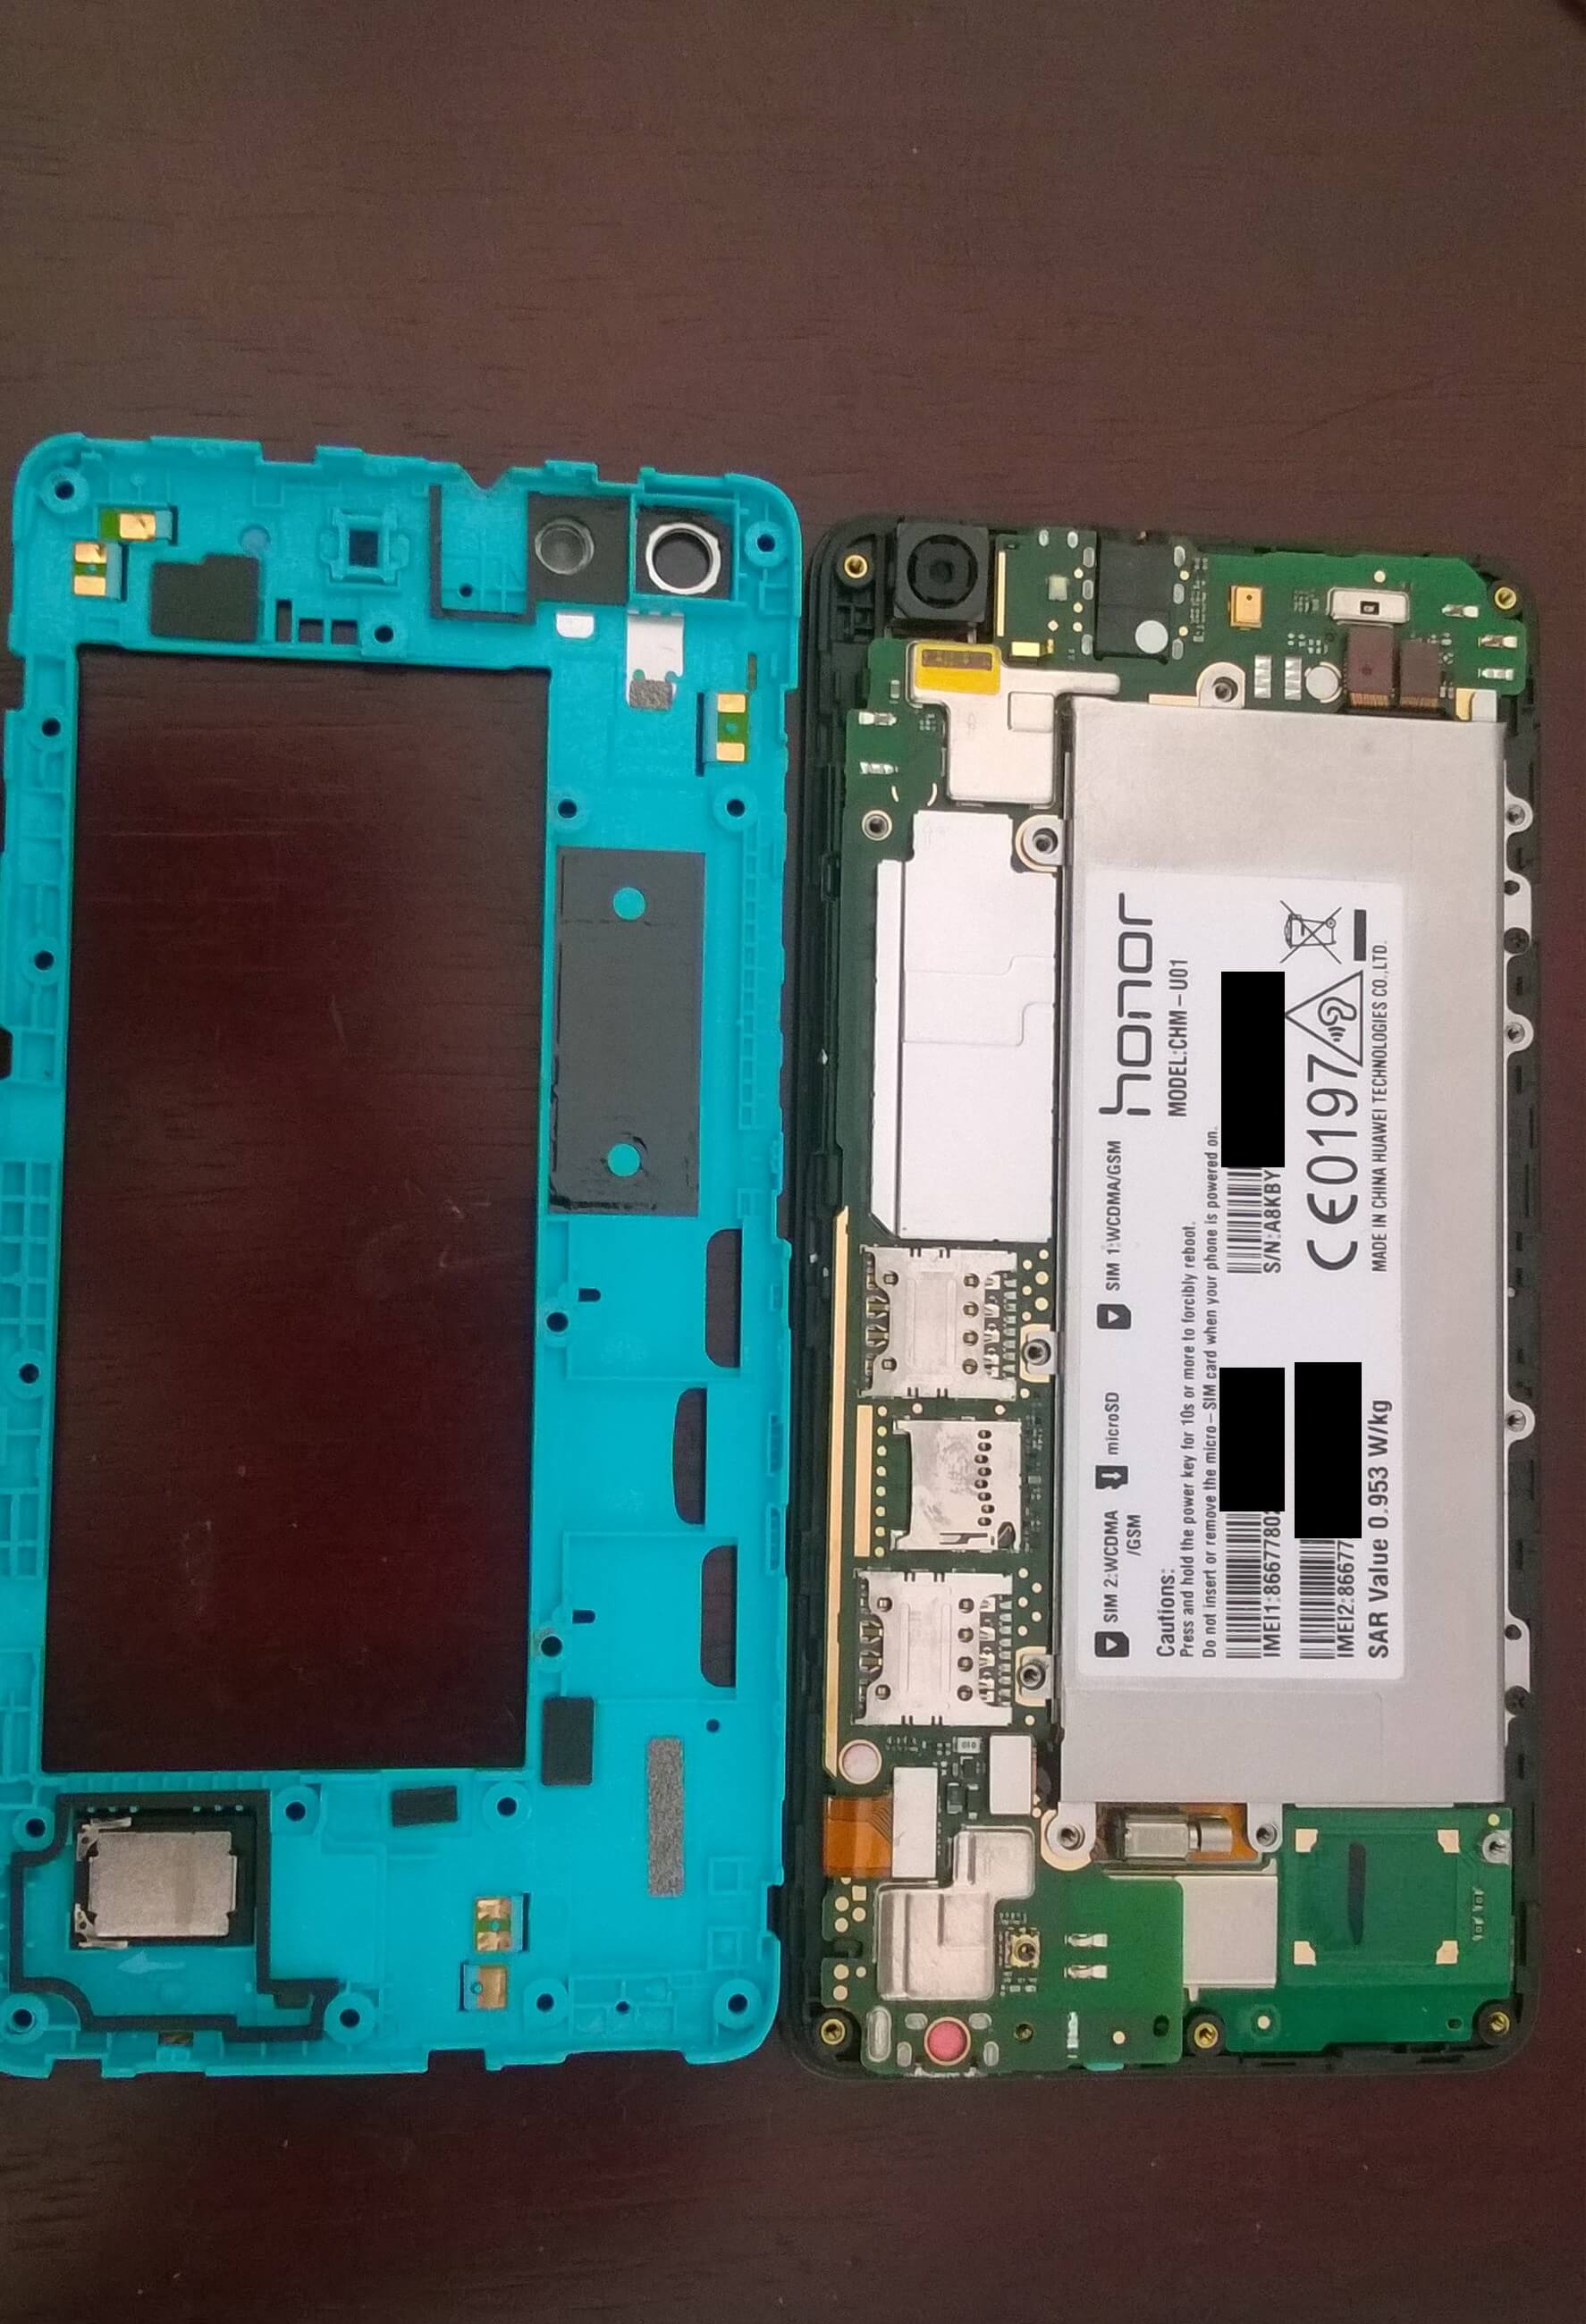

My phone honor 4c …i dont know where to on off button