This is a guide on how to import an ova file into virtualbox with screenshots.
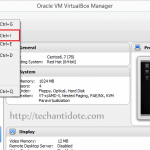
In Oracle virtualbox, click on “File” and then click on “Import Appliance“.

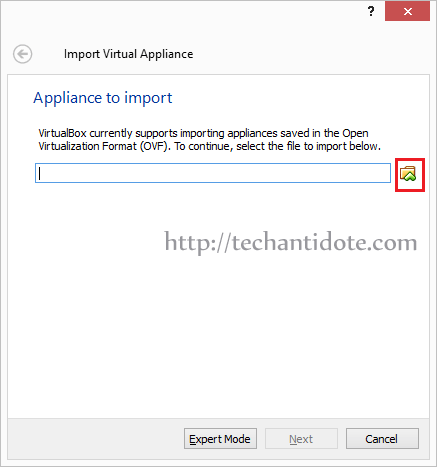
Then click on the “folder” icon as shown below:
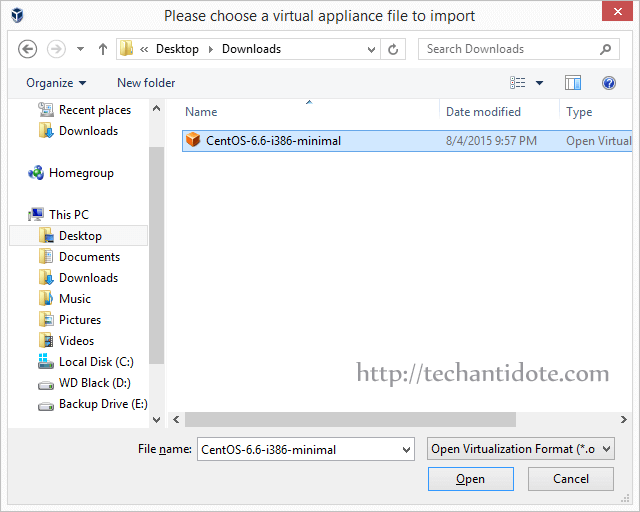
Select the .ova file you need to import and then click on “Open“.
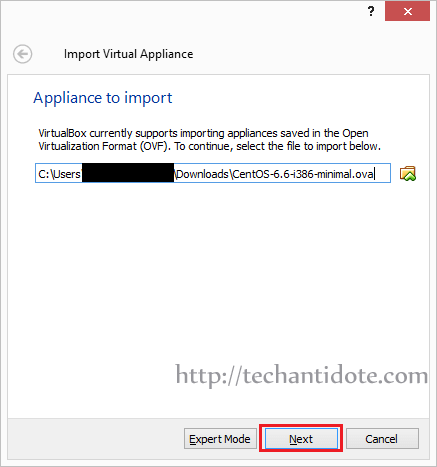
Click on “Next“:
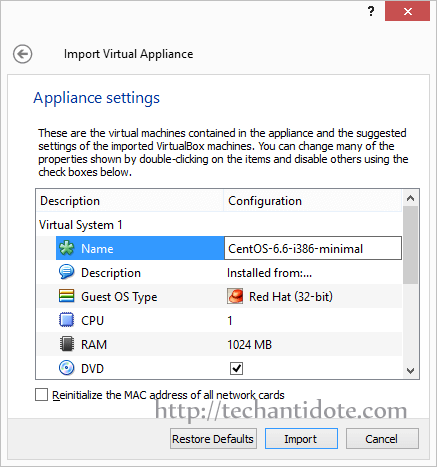
Now, you can configure the options, such as change the virtual machine’s name which is optional as show below:
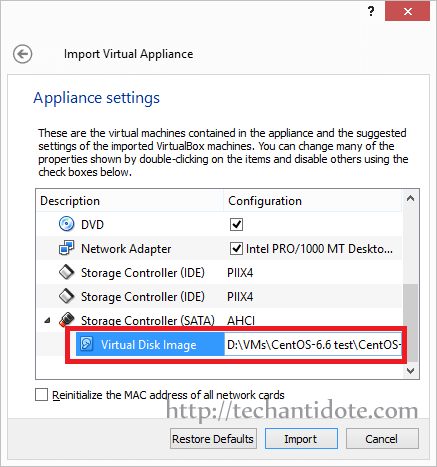
You can also change the location of your virtual machine’s hard disk if needed by changing the location field.
Now, you can go ahead and start you VM.
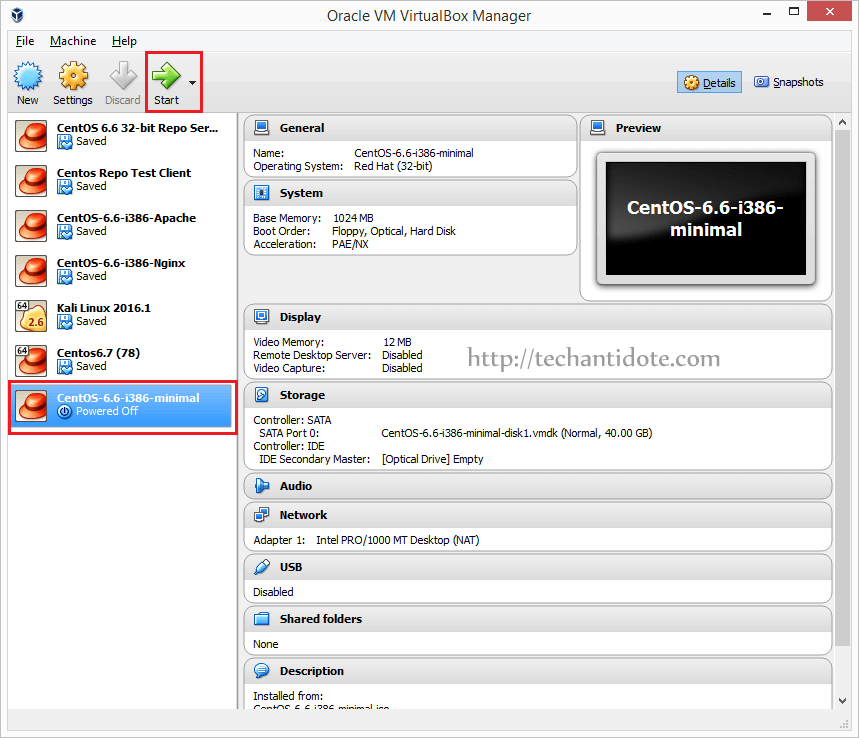
Wohoo! You have successfully imported your ova file into virtualbox.
If this article helped you, do share this by clicking on the share buttons you see in this page. If you have any queries feel free to leave a comment below and I will get back to you! Happy Virtualization!
Source: Link
