This is a tutorial on how to install Docker on Ubuntu 18.04. [Works on Ubuntu 16.04 / 17.04 / 18.04.1 ]
Before we install docker, verify if you had installed any older versions of docker. If so, we need to remove them.
Run the following to remove any old versions of docker:
sudo apt-get remove docker docker-engine docker.io containerd runc -y
Install Prerequisites:
sudo apt-get install apt-transport-https ca-certificates curl software-properties-common -y
Install docker using convenience script
curl -fsSL get.docker.com -o get-docker.sh
sudo sh get-docker.sh
Add current user to docker group
sudo usermod -aG docker $USER
Enable Docker service on boot:
To enable docker service to run on boot, run the following:
sudo systemctl enable docker
Now, we need to exit out of the terminal and open a new terminal so that we can start using docker. Else, you may get a permission error. [You could either type “exit” and re-login to your ubuntu server or open a new terminal session].
After re-logging in, we can start using docker.
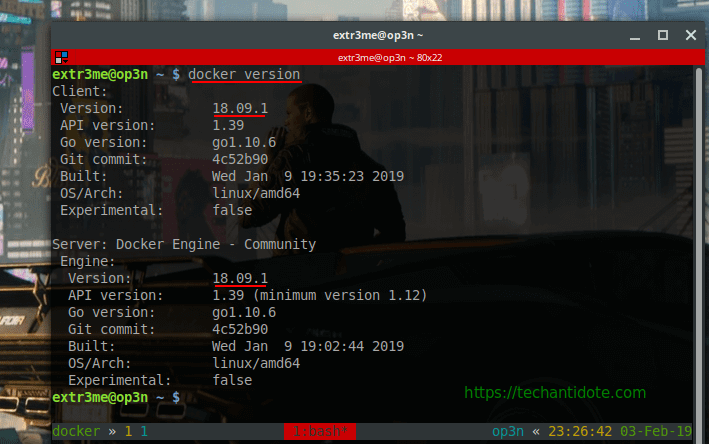
To start with, you can check the version of docker installed on your system.
docker version
Here is a screenshot of the outputs for reference:
When I got this, I’ll was like…
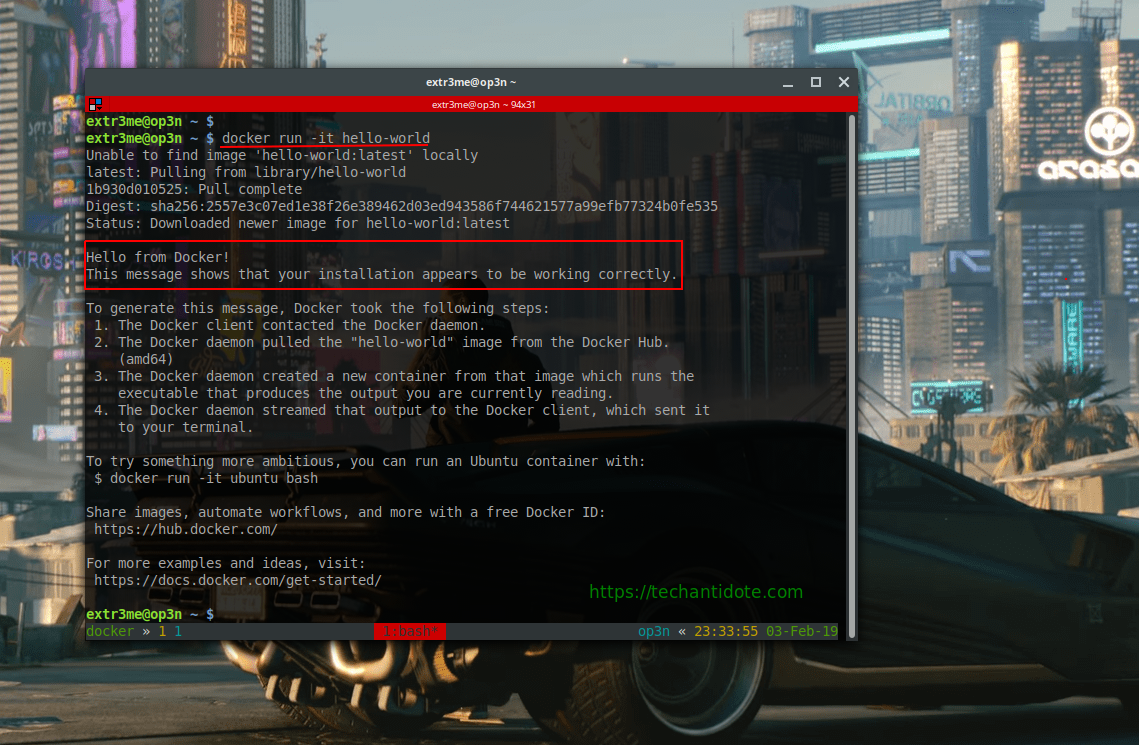
Now, lets run a docker container, you can use the following:
docker run -it hello-worldYou should ideally see docker downloads a docker image and provide you with a hello world message as shown below:
Just kidding, you should see something outputs as below:
Thats all for this tutorial. Do Leave a comment down below if you docker installed successfully.
Do bookmark my website/follow for future docker tutorials.
#PeaceOut
References/Sources: