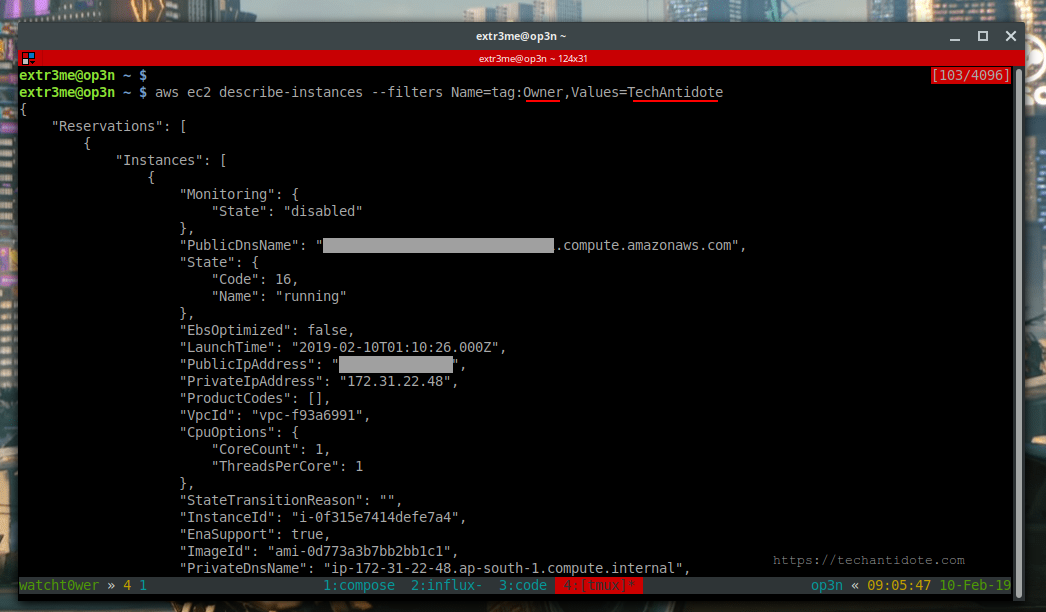
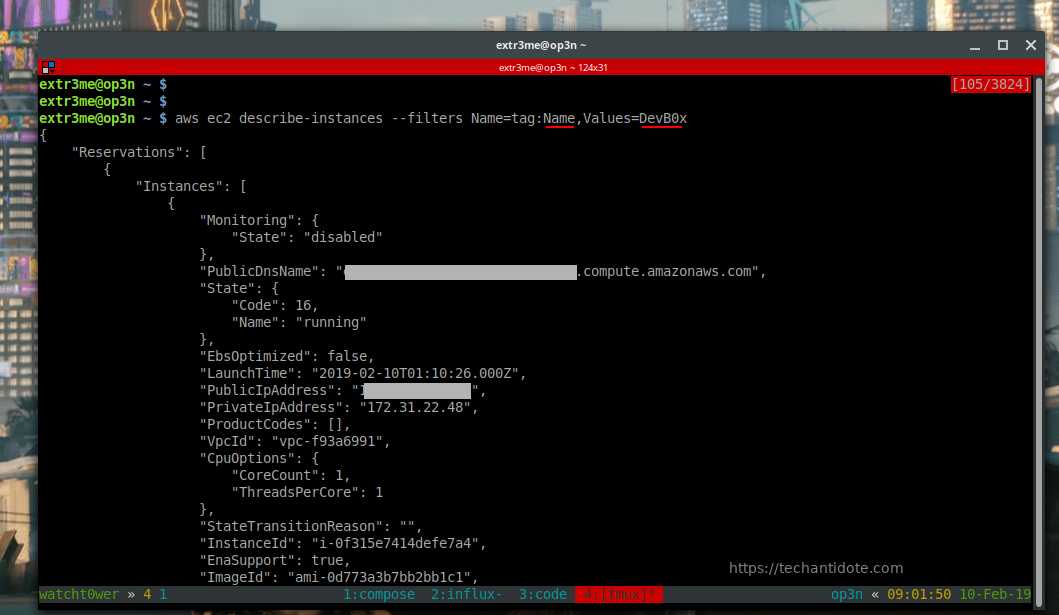
Below is a sample bash script that I created to deploy an EC2 instance in AWS.
What does this script do?
-Load the at the user defined values for VPC,Subnet, Security Policy.
-Use aws cli to interact with AWS with the IAM user configured.
-Create a new AWS key named “devenv-key” and store the corresponding key in your local machine.
-Deploy an t2.micro ubuntu EC2 instance.
-Upon deployment, it will wait for 60 seconds and SSH directly into the newly deployed ubuntu ec2 instance.
Prerequisites:
-An Amazon AWS account.(Free or Paid account)
-An IAM user with Access Key and secret access key.
–Pre-configured VPC, Subnets, Routes, Internet gateways, Security policy.
-Any Linux Machine with aws cli utlity installed.
[Refer to my previous blog post on how to install AWS CLI tool.]
Link: https://techantidote.com/how-to-install-aws-cli-in-linux-auto-command-completion/
– In host machine, run “aws configure” to configure your IAM user details.
[ PS: I am not a expert in scripting. ]
Variables to be set before running the script:
-I have added the following variables in the script:
"vpc_id"
"sub_id"
"route_table"
"internet_gateway"
"sec_id"
"aws_image_id"
"i_type".
-Substitute values for these variables from that of your AWS environment in the script.
How do I run the script?
Option 1: Git clone and run it
-I have setup a public project in gitlab. You can clone and run the script (You would require git to clone the project.)
git clone https://gitlab.com/techantidote/aws-bash.git
cd aws-bash
-Edit the script getaws.sh and update values for vpc_id, sub_id and sec_id.
-Once done, run the script:
./getaws.sh
Option 2:
-Create a file (getaws.sh), make it executable, copy the below contents to this file and run the script.
Bash Script starts here:
#!/bin/bash
echo -e "\e[33m ========= AWS Automation Project =========\033[0m"

#AWS variables - Modify these as per your account
# Enter your VPC ID
vpc_id="vpc-12345"

# Enter your Subnet ID.
sub_id="subnet-12345"

#Enter your route table ID - Optional
#route_table="rtb-12345"

#Enter internet gateway - Optional
#internet_gateway="igw-12345"

# Enter your security group ID
sec_id="sg-12345"

# Enter the AWS Image ID you would like to deploy. The below image ID is for an Ubuntu EC2 instance.
aws_image_id="ami-41e9c52e"

#Set the type of instance you would like. Here, I am specifying a T2 micro instance.
i_type="t2.micro"

# Create an optional tag.
tag="Wakanda"

#Create the key name what you want
aws_key_name="devenv-key"
ssh_key="devenv-key.pem"

#Generate a random id - This is optional
uid=$RANDOM

# Generate AWS Keys and store in this local box
echo "Generating key Pairs"
aws ec2 create-key-pair --key-name devenv-key --query 'KeyMaterial' --output text 2>&1 | tee $ssh_key

#Set read only access for key
echo "Setting permissions"
chmod 400 $ssh_key

echo "Creating EC2 instance in AWS"
#echo "UID $uid"

ec2_id=$(aws ec2 run-instances --image-id $aws_image_id --count 1 --instance-type $i_type --key-name $aws_key_name --security-group-ids $sec_id --subnet-id $sub_id --associate-public-ip-address --tag-specifications 'ResourceType=instance,Tags=[{Key=WatchTower,Value="$tag"},{Key=AutomatedID,Value="$uid"}]' | grep InstanceId | cut -d":" -f2 | cut -d'"' -f2)

# Log date, time, random ID
date >> logs.txt
#pwd >> logs.txt
echo $ec2_id >> logs.txt
echo ""

echo "EC2 Instance ID: $ec2_id"
#echo "Unique ID: $uid"
elastic_ip=$(aws ec2 describe-instances --instance-ids $ec2_id --query 'Reservations[0].Instances[0].PublicIpAddress' | cut -d'"' -f2)
echo -e "Elastic IP: $elastic_ip"
echo $elastic_ip >> logs.txt
echo "=====" >> logs.txt

#echo "Copy paste the following command from this machine to SSH into the AWS EC2 instance"
#echo ""
#echo -e "\e[32m ssh -i $ssh_key ubuntu@$elastic_ip\033[0m"
echo ""
countdown_timer=60
echo "Please wait while your instance is being powered on..We are trying to ssh into the EC2 instance"
echo "Copy/paste the below command to acess your EC2 instance via SSH from this machine. You may need this later"
echo ""
echo "\033[0;31m ssh -i $ssh_key ubuntu@$elastic_ip\033[0m"

temp_cnt=${countdown_timer}
while [[ ${temp_cnt} -gt 0 ]];
do
printf "\rYou have %2d second(s) remaining to hit Ctrl+C to cancel that operation!" ${temp_cnt}
sleep 1
((temp_cnt--))
done
echo ""

ssh -i $ssh_key ubuntu@$elastic_ip
Note | Disclaimer:
-I build this very basic script to learn about aws cli (Probably the hard way :P).
-There are way more easier ways to achieve the same result using templates.
-The intention of this script was to learn about AWS CLI and in the future implement methods to control to which VPC/Subnet/IG/Security policy that an EC2 instance needs to be attached on the fly.
-This is strictly to be run on test environments and not for production.
-Terminate your EC2 instance and its resources after testing so that you do not get charged. If you are using the AWS Free tier and within the trial period, you should be fine.
Do let me know your feedback (Good / Bad)in the comments section down below.
Happy Cloud computing 🙂


