This is a guide on how to install CentOS 6.7 minimal on virtualbox (text mode) in Windows 8.1 including screenshots. Hope this helps!
Requirements:
- CentOS 6.7 32-bit ISO : Download Link (~354 MB) {Note: Download the minimal version.}
- VirtualBox : Download Link (~114 MB)
- Atleast 8GB of free space
- CPU that supports Virtualization
Installation Procedure:
First, thing we need to do is to set up Virtual Box. Go ahead download and install Virtual Box (the download link is given above in the requirements).
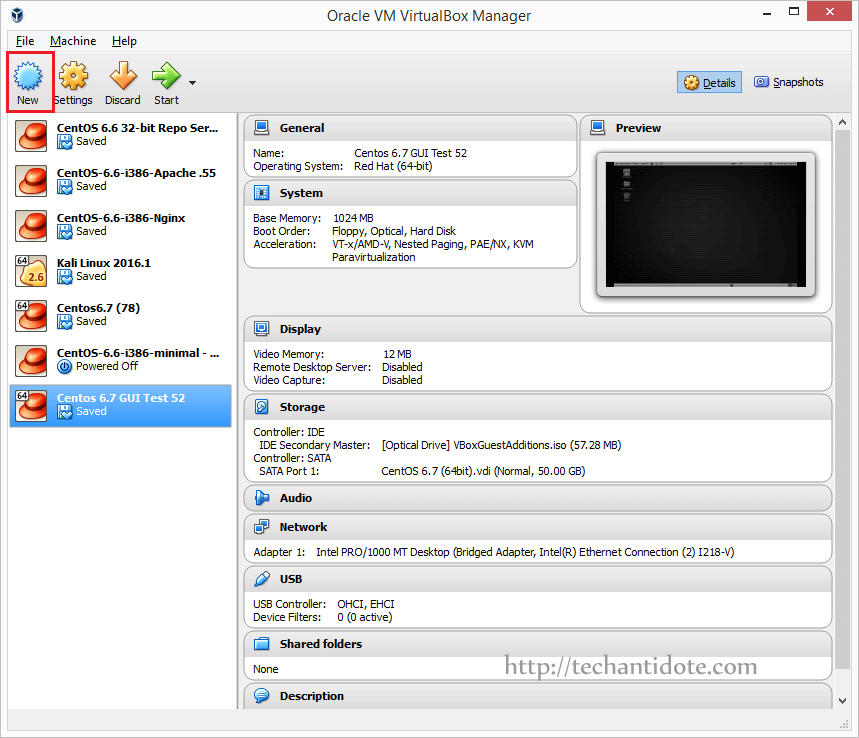
Open VirtualBox and click on “New“.
Type in “Name” as anything you like. I have named mine as “CentOS 6.7 minimal (32-bit)“. Make sure that the “Type” is “Linux” and the “Version” is “Redhat (32-bit)” as we have downloaded the 32-bit version of CentOS. Then click on “Next“.

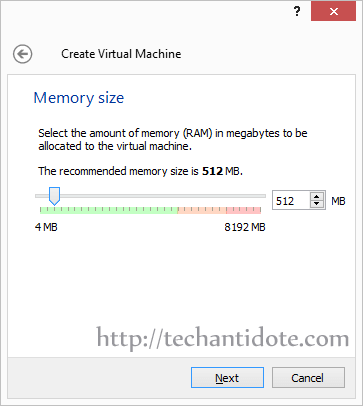
Now, select the amount of memory /RAM you need to allocate to your CentOS virtual machine. For this installation, allocate 512 MB of RAM for text mode installation and then click on “Next“.
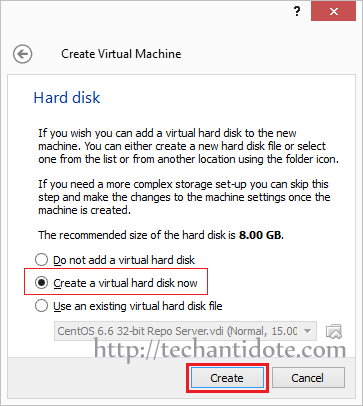
You can now click on “Create a virtual hard disk now” and then click “Create“.
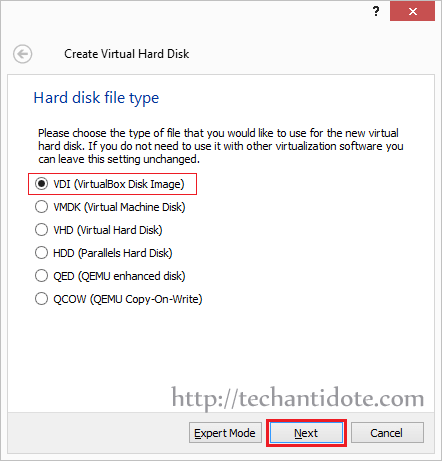
Now, select the first option “VDI (VirtualBox Disk Image)” and then click on “Next“.
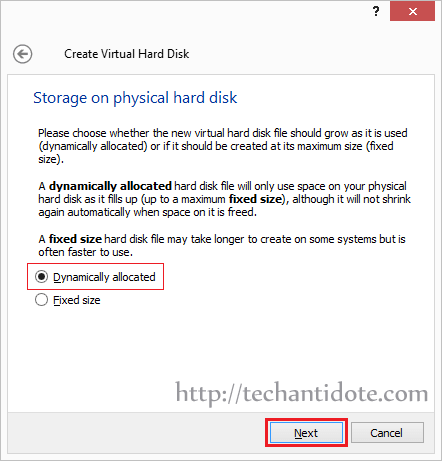
Select “Dynamically Allocated” and then click on “Next“.
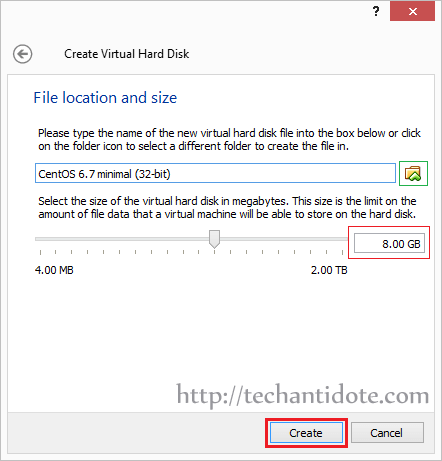
You can now select the size of the hard disk you need to allocate for your CentOS virtual machine and then click on “Create“. I would suggest a minimum of “8 GB”.
[Optional: If you need to change where the hard disk file is to be saved, you can click on the folder icon in the green box and change it accordingly.]
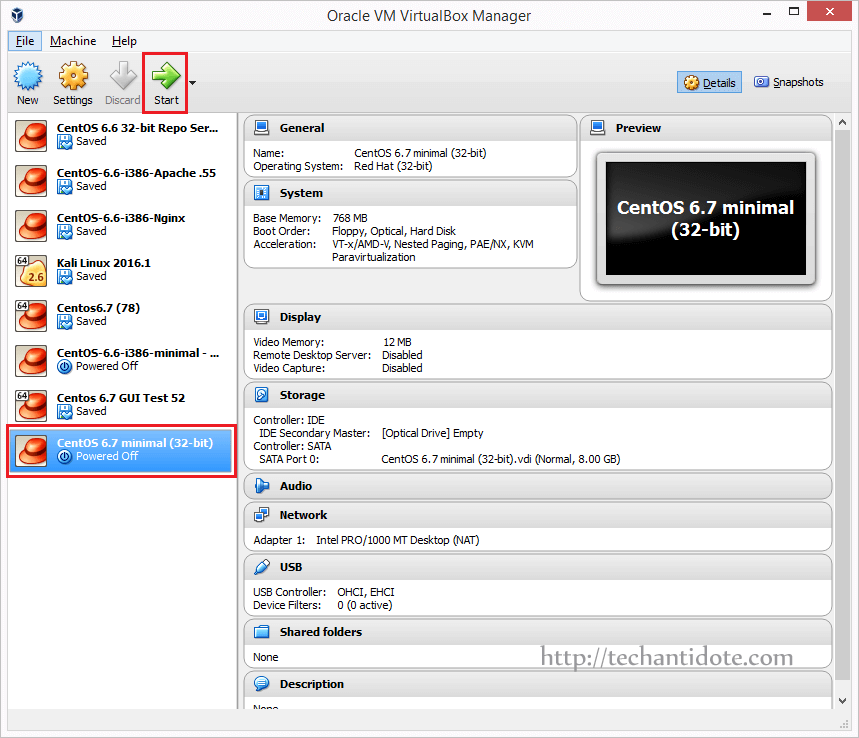
Now, click on the CentOS virtual machine that you created and then click on “Start” as shown below.
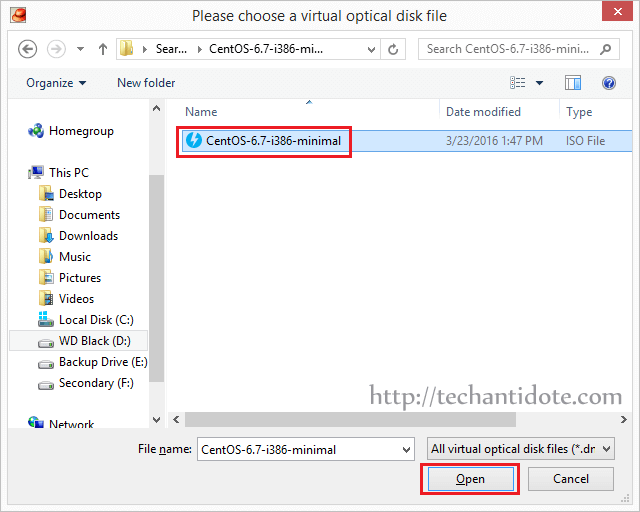
We need to provide the CentOS ISO file we downloaded earlier to Virtualbox for the VM to boot from the ISO image. You can do this by clicking on the folder icon as shown below and then selecting the CentOS ISO file and then clicking on “Open“.
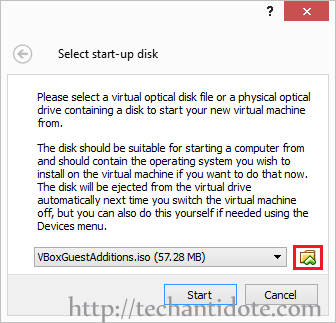
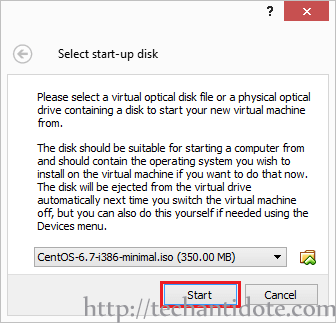
Once, you have selected the ISO file, you can click on “Start“.
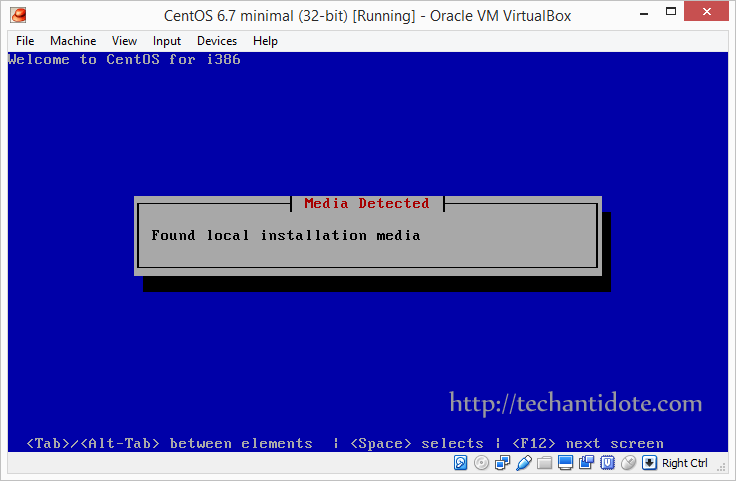
The virtual machine will now boot from the provided CentOS ISO image and you will be presented with the boot menu as shown below. Select the first option “Install or upgrade and existing system” and hit Enter in your keyboard.
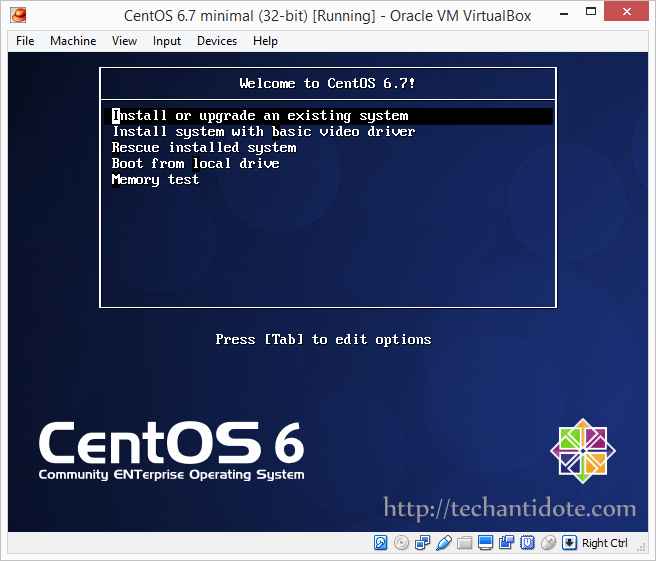
[Note: In this mode (i.e the text mode), you can use the arrow keys in your keyboard or the TAB key in your keyboard to move through different options and Enter to confirm selection.]
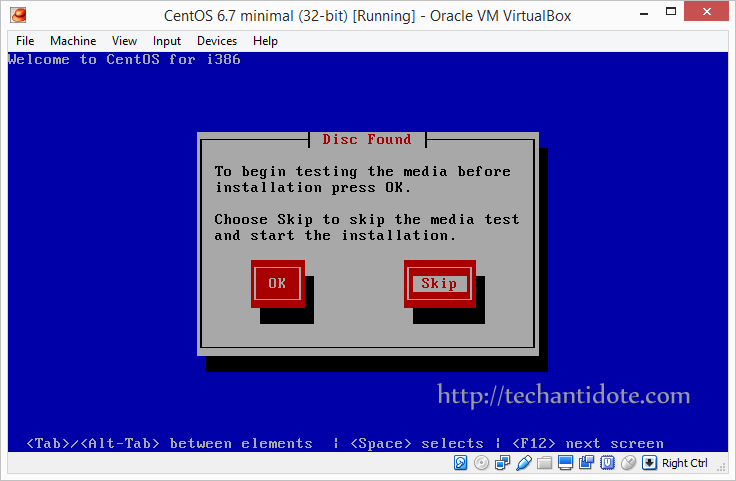
Now, use your arrow key/ TAB key to select option “Skip” and hit ENTER in your keyboard.
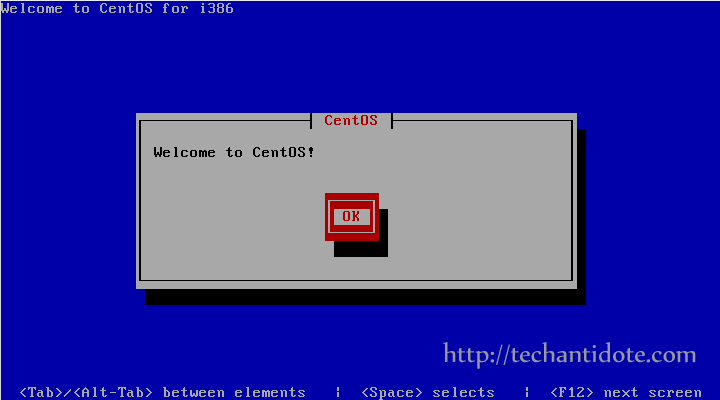
You will see a message “Welcome to CentOS!” with an “OK” button. Hit Enter in your keyboard.
Select the language as “English” and hit Enter.

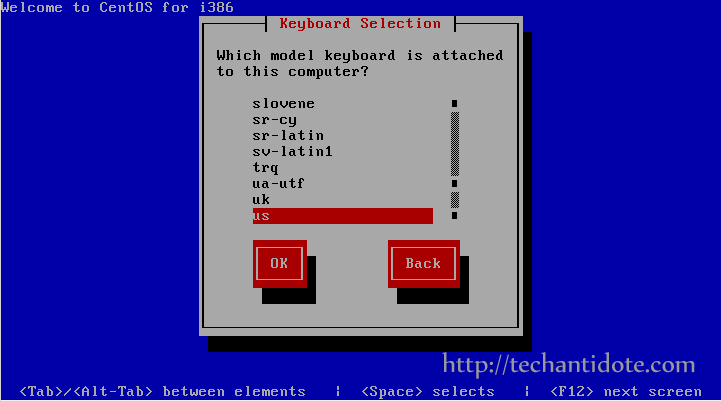
Select the keyboard layout as “us” and hit Enter.
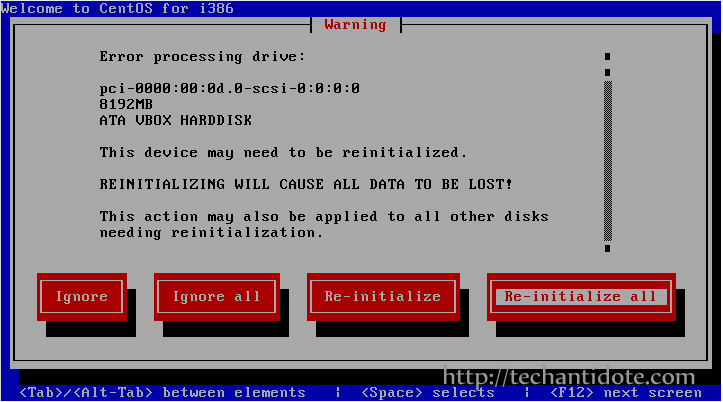
Now, you will get a Warning message “Error processing drive“. Select the last option “Re-initialize all” using arrow/ TAB keys and hit Enter.
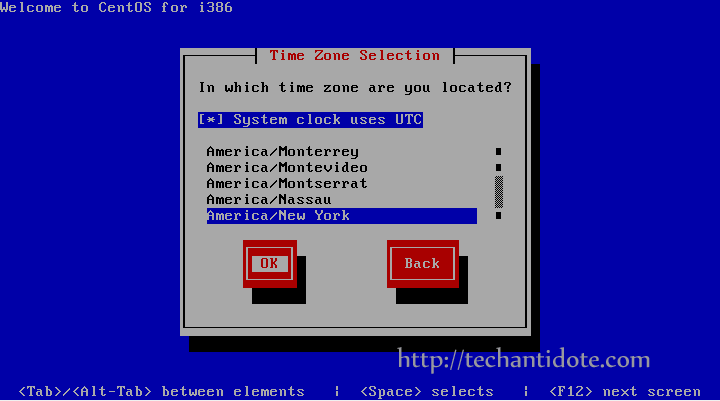
Now, make sure you select the right time zone. You can use the arrow keys to cycle down each entry or you can use the Page UP/ Page Down key in your keyboard to cycle through the list quickly. After you have selected the Time Zone, select “OK” and hit Enter in your keyboard.
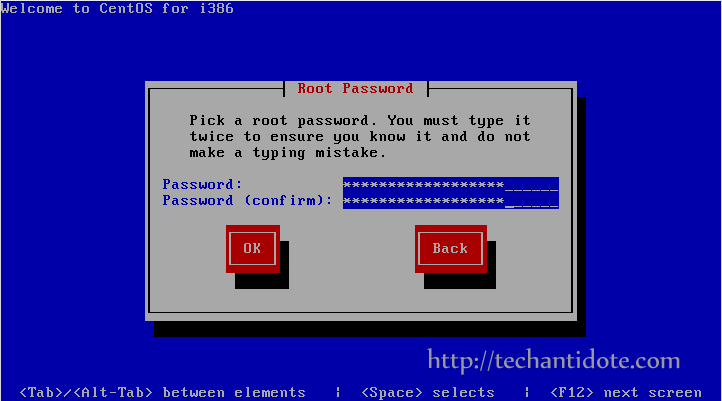
Now you need to create a root password for your CentOS virtual machine. Finally select “OK” and hit Enter.
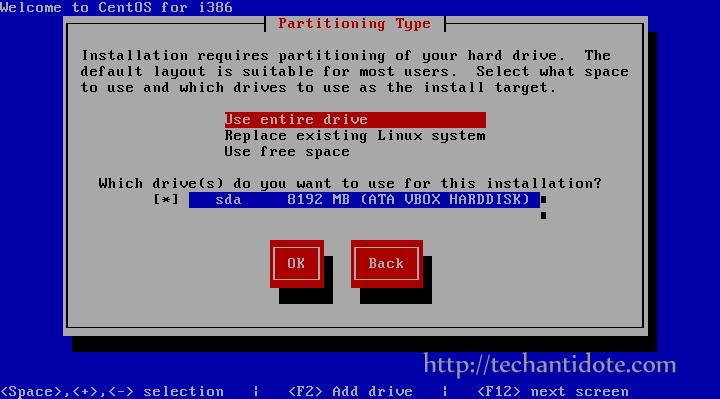
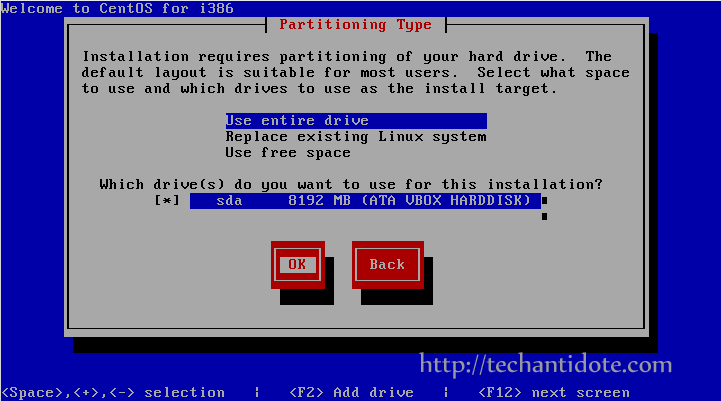
Select the first option “Use entire drive“, then select “OK” and hit Enter in your keyboard.
Select “Write changes to disk” and hit Enter.

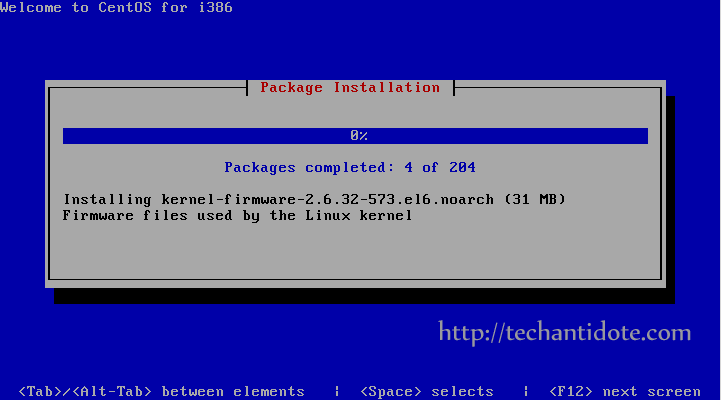
This will now install all the required packages. It would take a few minutes depending on the speed of your computer.
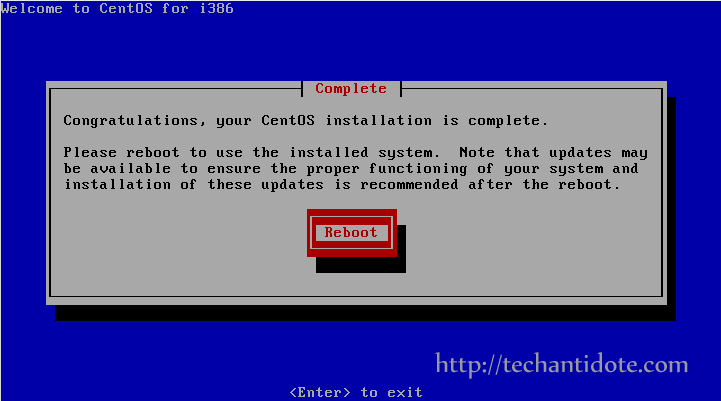
Once installation is complete you will be prompted with a “Reboot” button. Hit Enter for the CentOS virtual machine to restart.
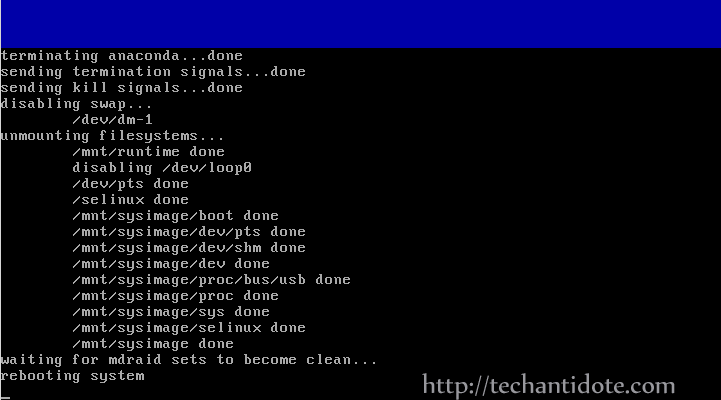
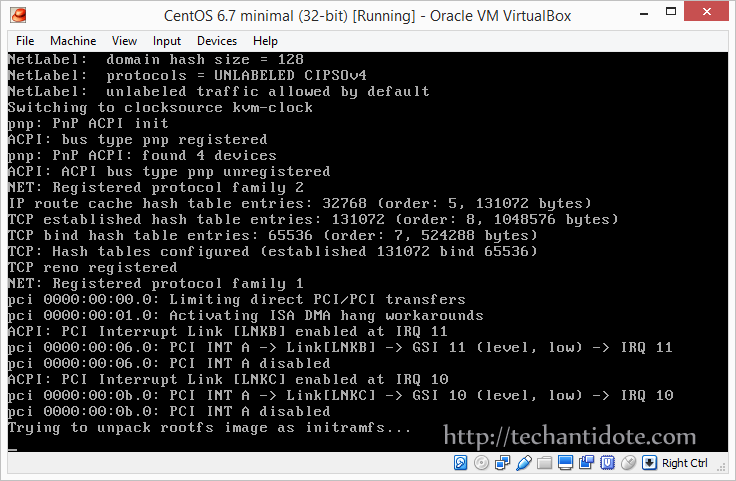
You should see the CentOS booting progress as shown below.
You will now be prompted with the login screen.

Now, type the username as “root” and hit ENTER in your keyboard. Then type in the root password that you created during installation and hit Enter. Upon successful login, you will see the bash prompt with # symbol at the end.

And Voila! You have successfully installed CentOS 6.7 minimal in VirtualBox using text based installation method. I will be creating another post on how to configure the network manually in CentOS 6.7 using the terminal.
If you have any queries regarding this installation, feel free to leave a comment below and will get back to you. Do subscribe to my blog get future updates! 🙂