This is quick guide on how to use netcat (nc) to chat between two PCs over LAN.
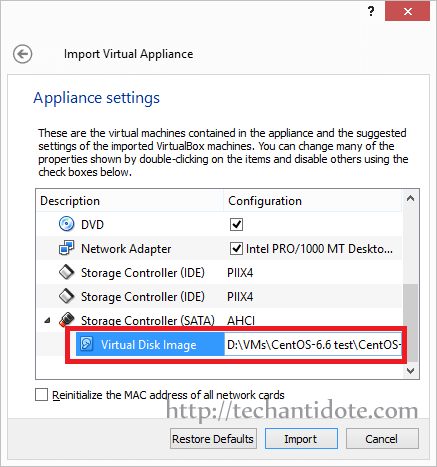
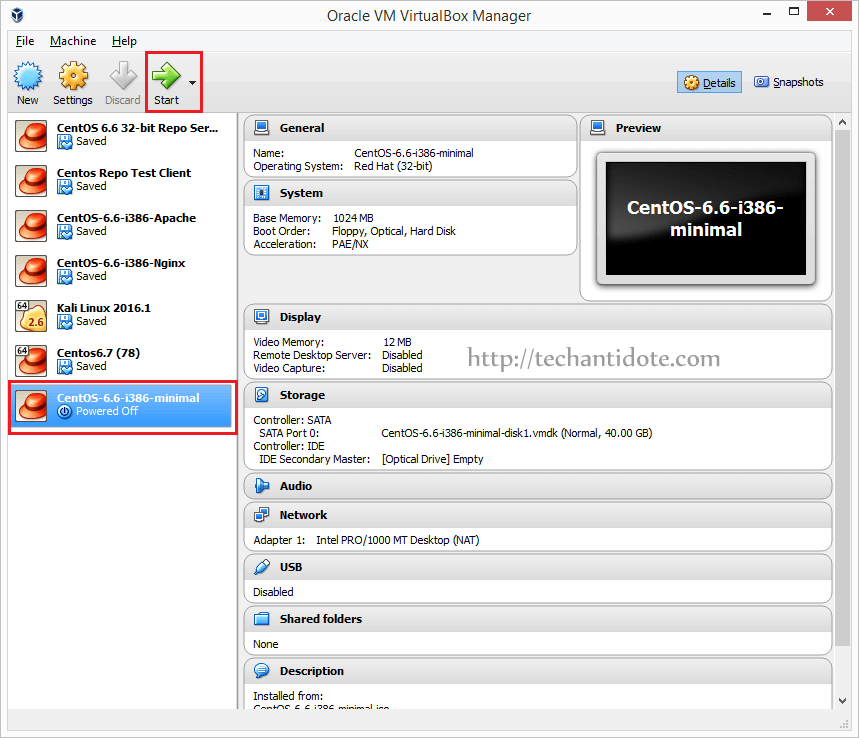
VM 1: CentOS 6.6
My CentOS machine did not have netcat (nc) preinstalled so I had to manually install it.
# yum install nc -y
VM 2: Kali Linux 2016.1 | IP: 192.168.1.11 |
The Kali Linux 2016.1 had netcat tools were pre-installed so i didn’t have to install it. Here, we take any one of the 2 Pcs as the chat server and the other as the chat client.
Here, I am selecting the Kali Linux to listen for connections on a random port 12345. [Note: The port you select must be higher than the standard port 1024.]
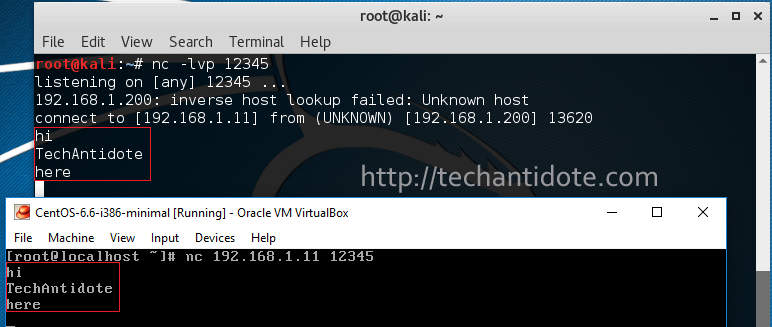
In this case, I will make Kali as the chat server and set it to listen on port 12345.
# nc -lvp 12345

Now from the 2nd PC i.e. the CentOS machine, we will make a connection to the Kali machine on port 12345.
# nc 192.168.1.11 12345
Once connected, Kali’s terminal would show as message such as shown below:

Now, to start chatting type the text and hit ENTER in your keyboard to send chat messages between the two PCs. Pretty sweet uh?
FYI, There are practically tons of uses of netcat (nc) other than sending messages.
Other uses of netcat:
- File Transfer: You can use to transfer file from one PC to another.
- Port Scanning: Use netcat with the -z flag to run a port scan of the desired IP.
- Clone & transfer entire partitions: This comes handy if you need to take a backup and transfer it to another PC in your LAN. You can use the dd command to clone a partition or an entire hard disk and then transfer it across to another PC.
- Run a simple Web server.
Have you found any another use with netcat? Post it in the comment section down below. If your on a Linux machine, check out the man page for netcat for more info. Happy exploring!
If you liked this article, don’t forget to subscribe and follow us on Twitter and Facebook.
Source: Cybrary.it