This is how I installed Kali Linux in virtualbox using the ova file method in my windows 10 PC along with its screenshots.
Requirements:
- Kali Linux 2019.1 Preinstalled Image: Download Link (Torrent) (~3.2 GB) [Updated link o latest Kali Version]
- VirtualBox: Download Link (~200 MB)
- CPU that supports Virtualization.
- Atleast 8GB of free disk space.
- 7-zip: Download Link (~1.4 MB) [ Note: Winrar is another alternative you could use instead of 7-zip.]
- Virtual Box Extension Pack: Download Link (~22 MB) [Optional]
Installation Procedure:
The first thing you need to do is go ahead download and install Virtualbox in your system. Then download the Kali Linux ova file mentioned above and extract it using 7-zip or Winrar. The extracted file would be a .ova file format which is a pre-installed Kali Linux machine. Using a pre-installed file saves us a lot of time as we don’t have to go through the whole installation process.
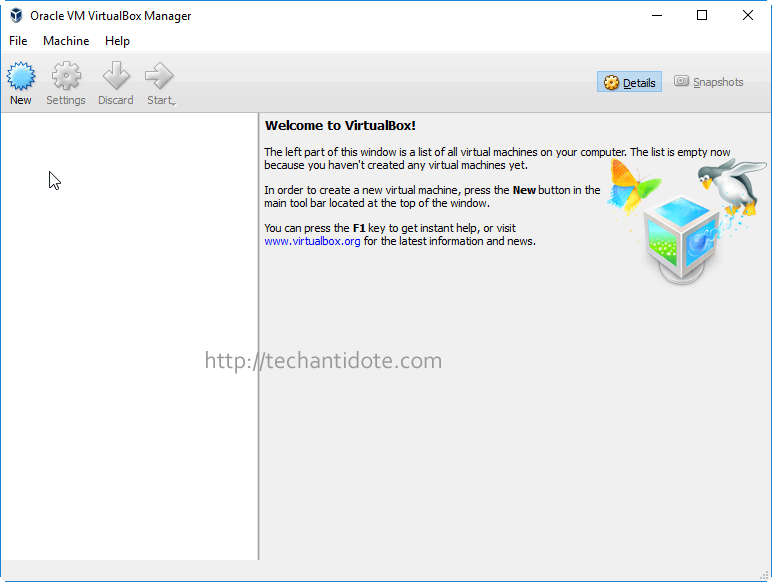
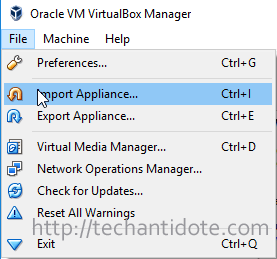
Now, open VirtualBox:
Then click on “File” and then click on “Import Appliance“.
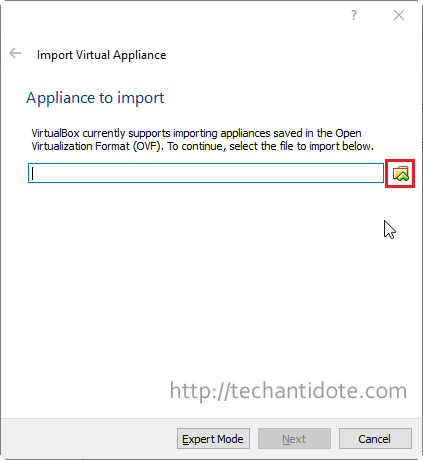
Click on the folder icon as shown below.
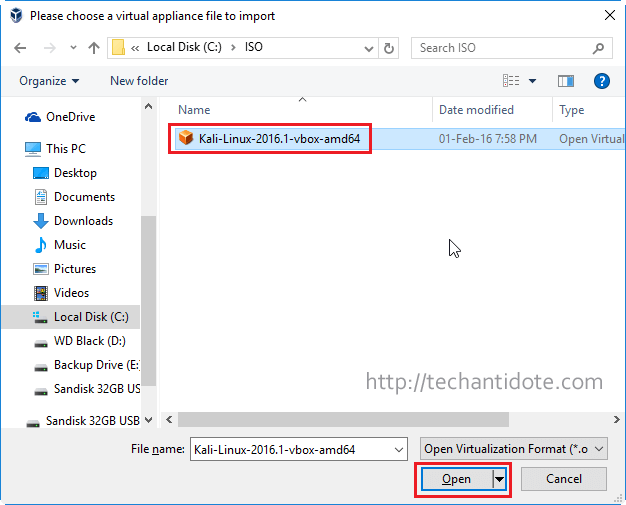
Now, browse to and select the extract .ova Kali Linux image file and click on “Open“.
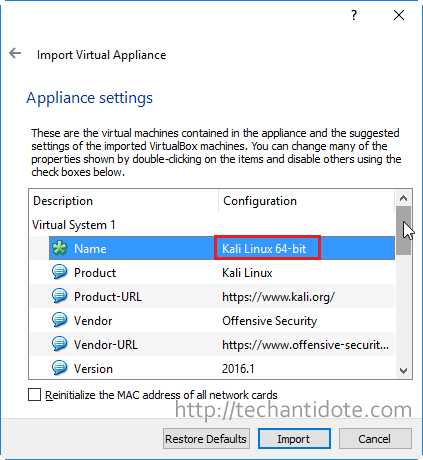
You would now see a window called “Appliance settings” where you can configure stuff like the name of your VM, the amount of RAM to be allocated to your Kali Linux VM etc.
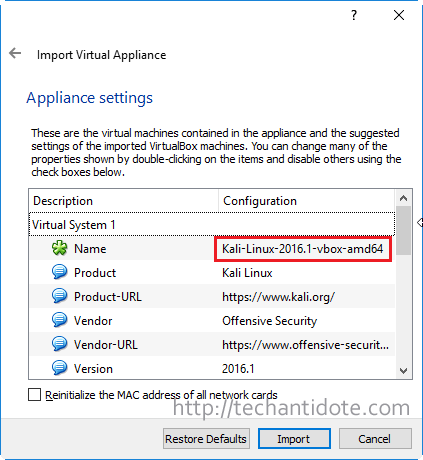
If you want to change the name of the VM, simply click on the text and you can change it according to your will.
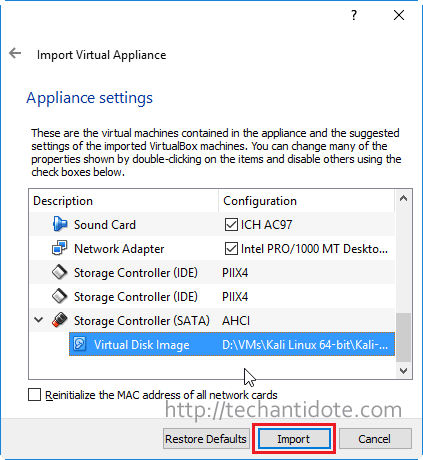
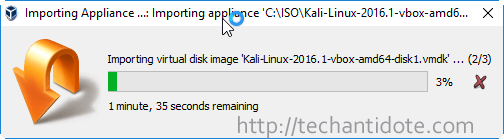
Finally, click on “Import” and wait for a few moments to import the Kali Linux Appliance.
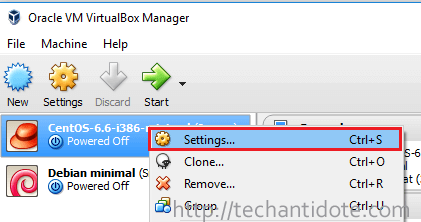
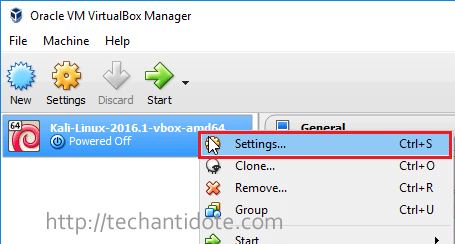
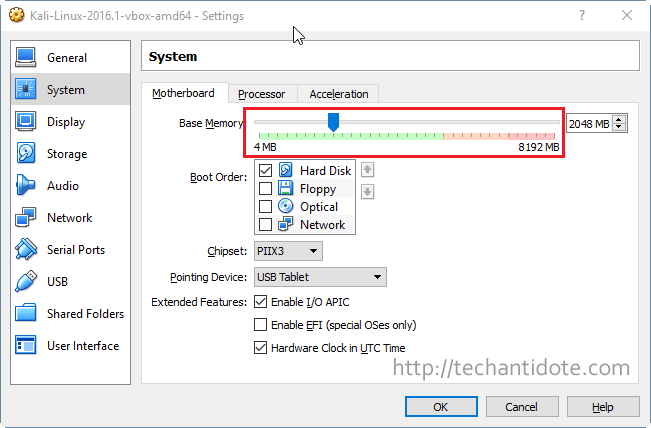
Now, right click on your Kali Linux Virtual machine as shown below and click on “Settings“.
If you need to adjust the amount of RAM, click on “System” and you can move the slider accordingly. I would suggest atleast a minimum of 2048 MB (2GB) of RAM.
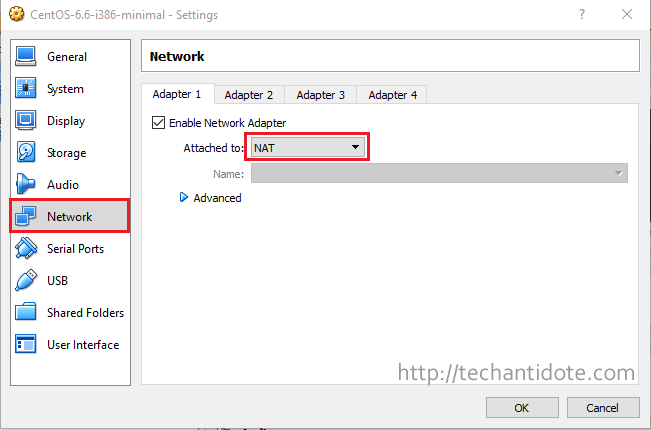
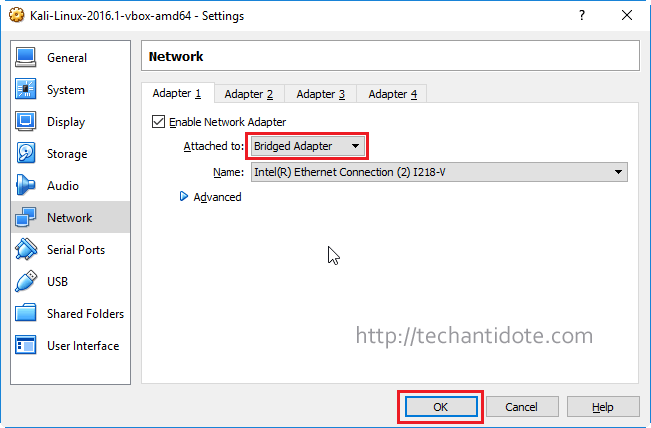
Now, click on “Network” as shown below and select “Bridged Adapter” and then click on “OK“.
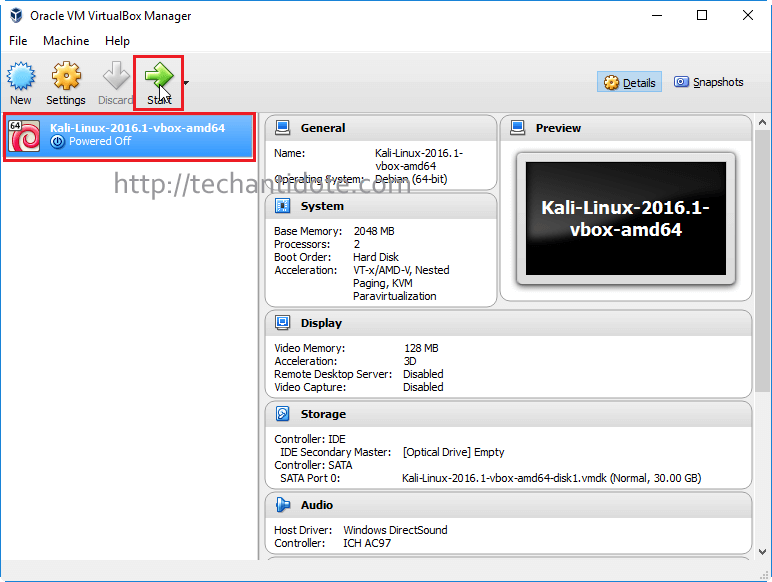
Click on your Kali Linux VM and then click on Start as shown below.
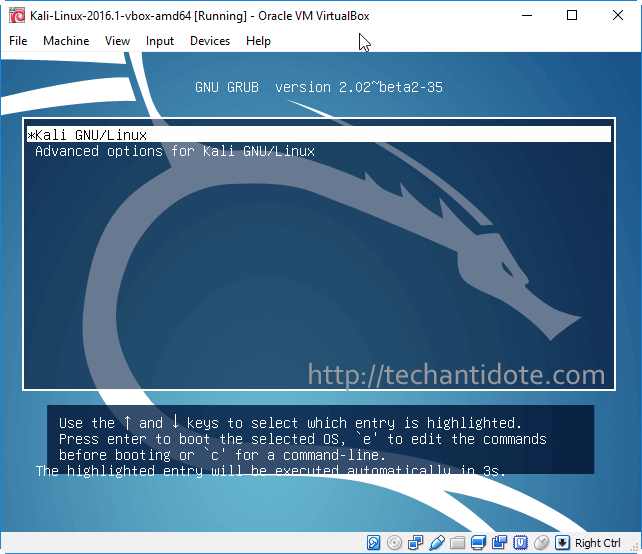
You should now be able to see the grub menu. Hit “Enter” in your keyboard.
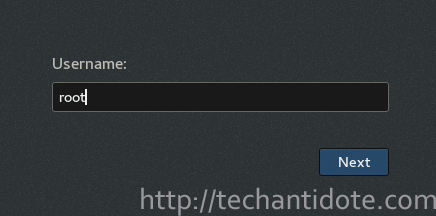
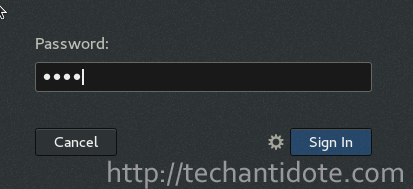
Now, login to your Kali Linux machine with the default username as root and password toor.
Note: If you are using newer Kali versions (from year 2020 ), the username and password is “kali”.
Ref: https://www.kali.org/docs/introduction/default-credentials/
You should now be booted into your Kali Linux desktop.

Customize Kali (Optional):
I would like to make some minor changes to make sure the VM is not interrupted during pen testing. This section is purely optional, you can skip to the next section if you don’t want to customize it.
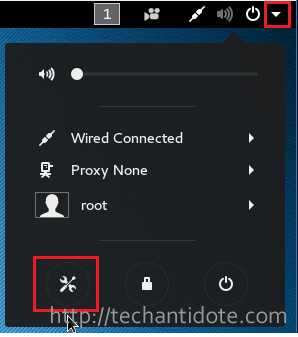
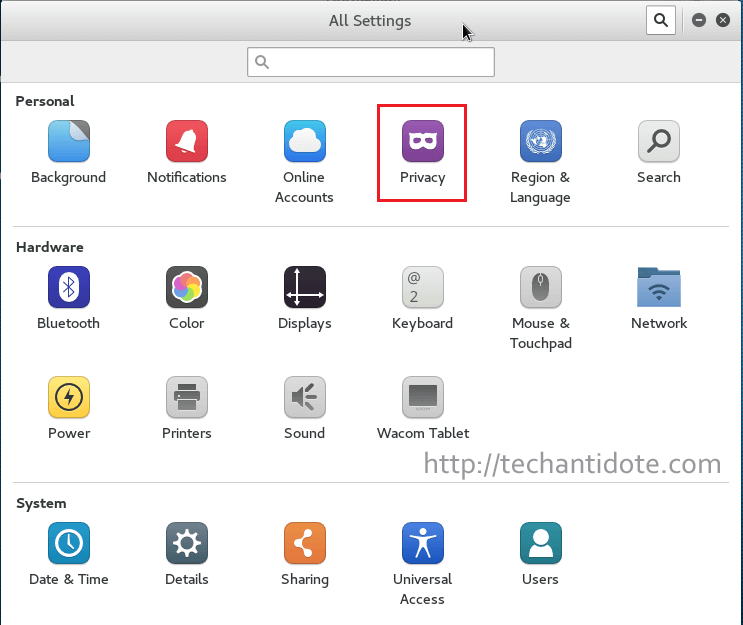
Click on the triangle pointing downwards in the upper right corner and then click on the “Settings” icon.
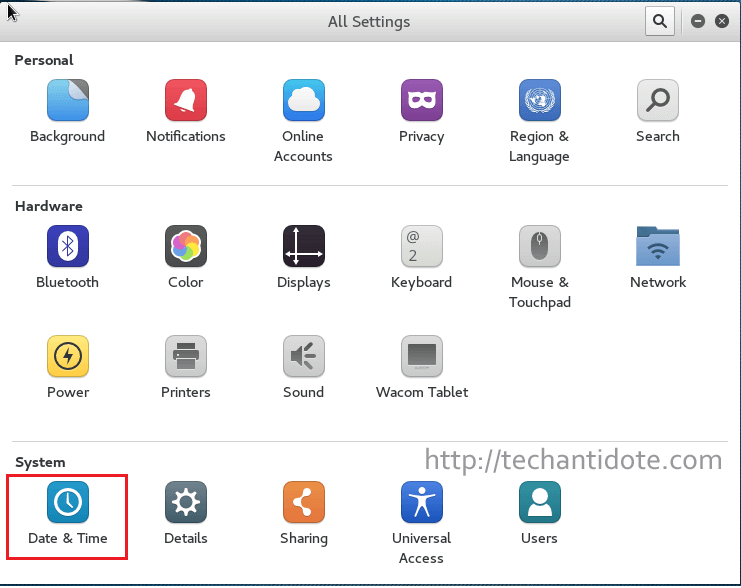
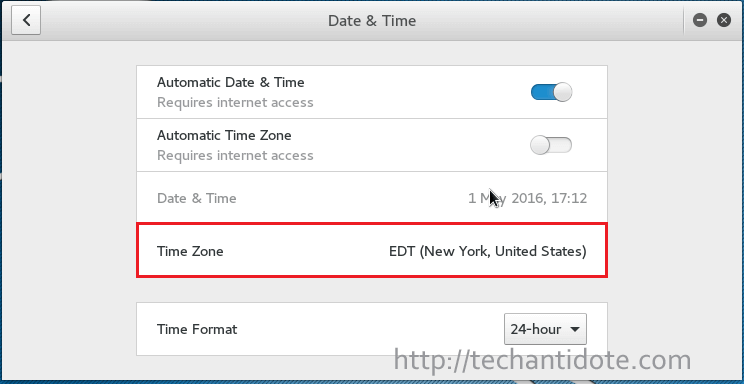
This will bring you the “All Settings” window as shown below. Click on “Date & Time“.
You can change the time zone to your time zone.
Now, go back to the “All Settings” window and then click on “Privacy“.
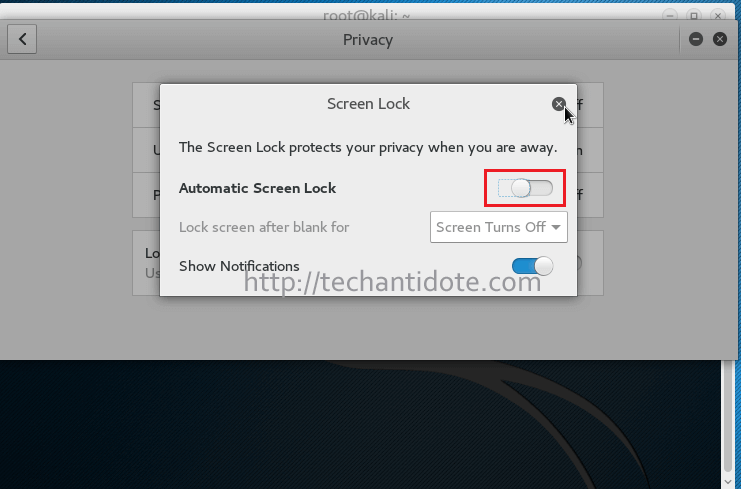
You would see a screen similar to the one below:

Now, disable “Automatic Screen Lock” by moving the slider.
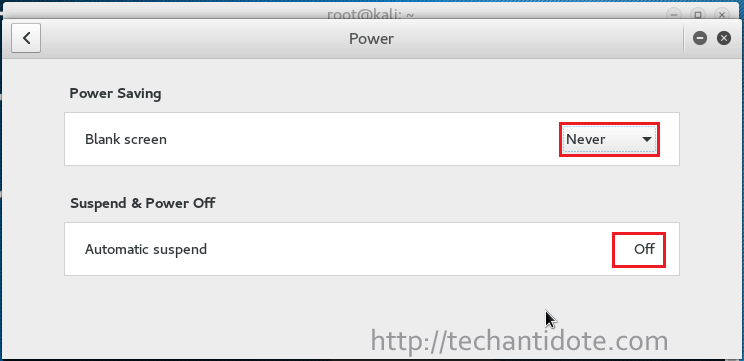
Go back to “All Settings“, then click on “Power“.
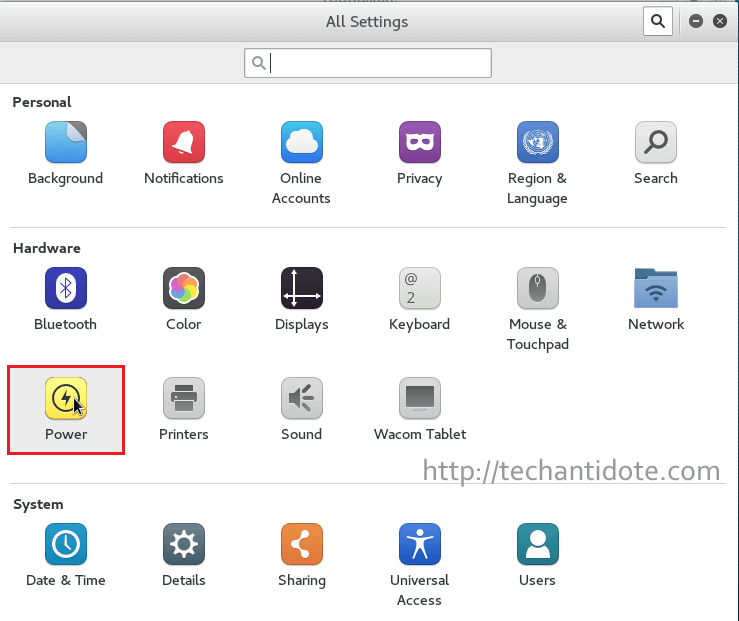
Now, select Blank Screen option as “Never” and turn off “Automatic Suspend” as shown below.
Update Kali Linux:
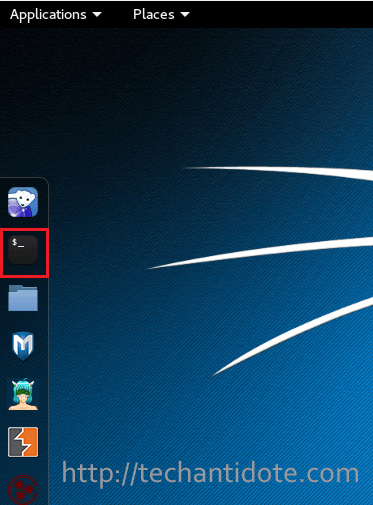
Open the terminal window by clicking on the icon as shown below:
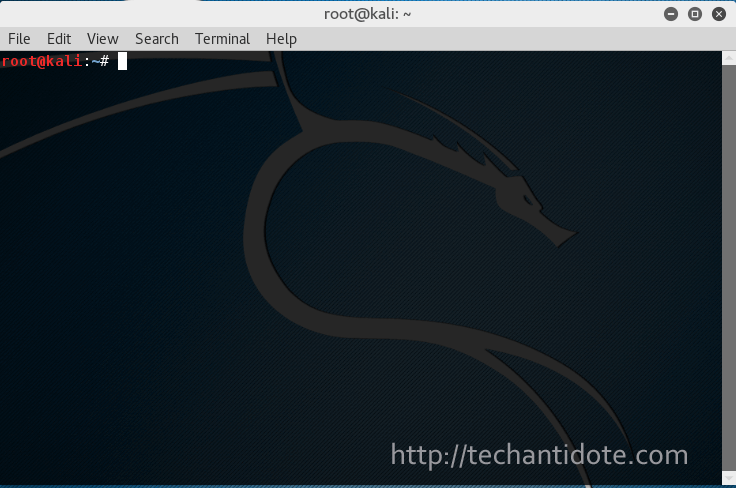
This is what the terminal window would look like in a Kali Linux system.
Enter the following commands in the terminal to update your Kali Linux system.
apt-get clean && apt-get update -y
apt-get upgrade -y && apt-get dist-upgrade -y
This may take a while depending on your internet connection for the update to complete.
And that is it for setting up Kali Linux in virtualbox to get started with pentesting (only for ethical hacking and for purely educational purposes).
If you have any sort of queries regarding this installation, just leave a comment and will get back to you. I will be posting some ethical hacking tutorials in the future, so stay tuned.